
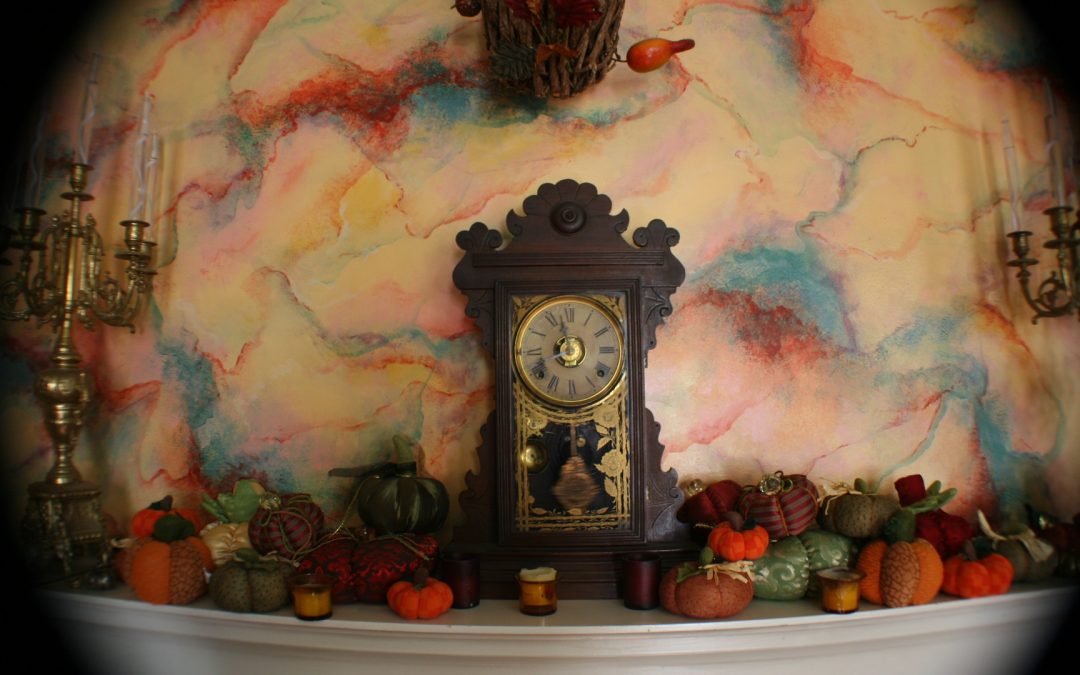
Is it possible to Faux Marble an entire room?
February, 2026 Marbleized Living Room – 13 colors – me questioning my life choices!
The Room That Started with a Rug
Every room in Forteza Luce starts with a story. This one starts with a rug.
When my mom sold her house and relocated to Costa Rica, I inherited her reproduction oriental rug. It’s extraordinary — one of those pieces that commands a room the moment it touches the floor. Rich, layered, alive with color and LARGE - big enough to cover my new, grand living room. With over 50 colors woven through it, it was the perfect inspiration for my new found avocation as designer of interior spaces.
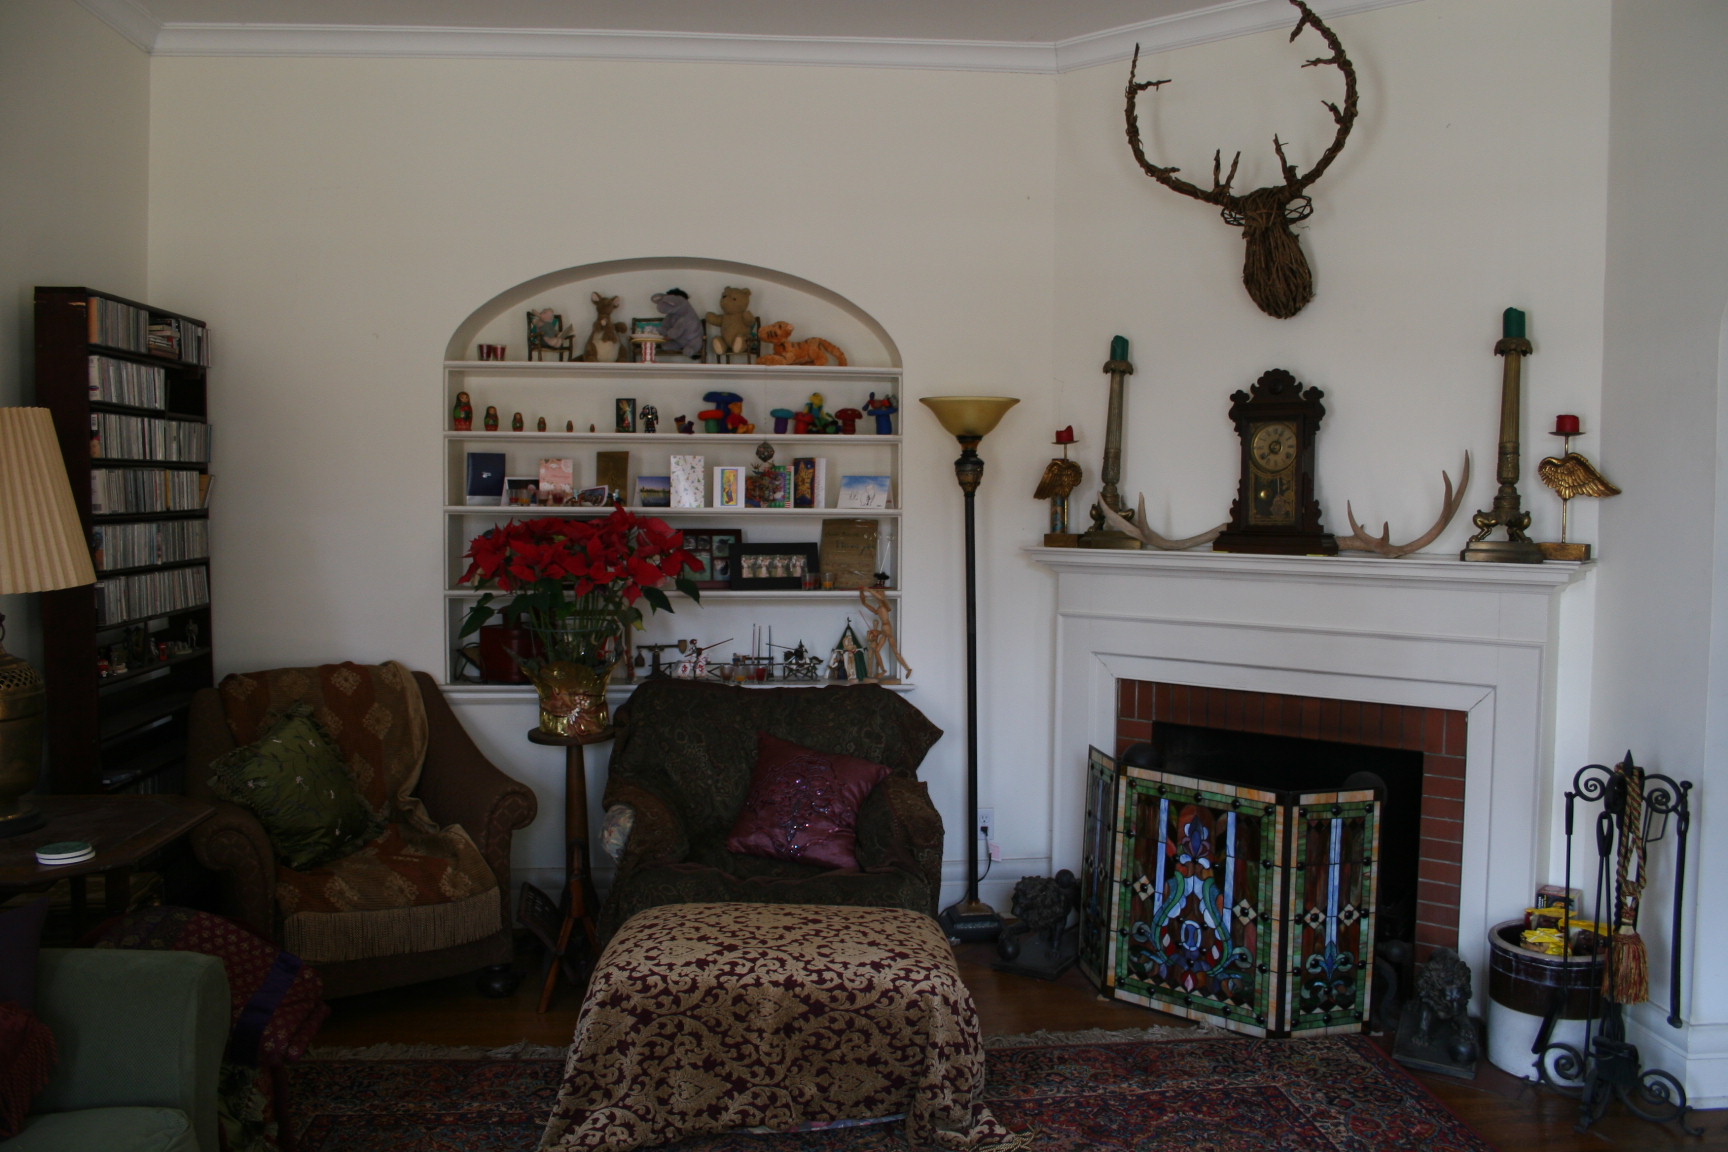
I put it in my living room and it defined the space. It was one of the early steps in transitioning from the monochromatic white rooms the house came with into something that actually felt like mine.
And then I started contemplating the walls.
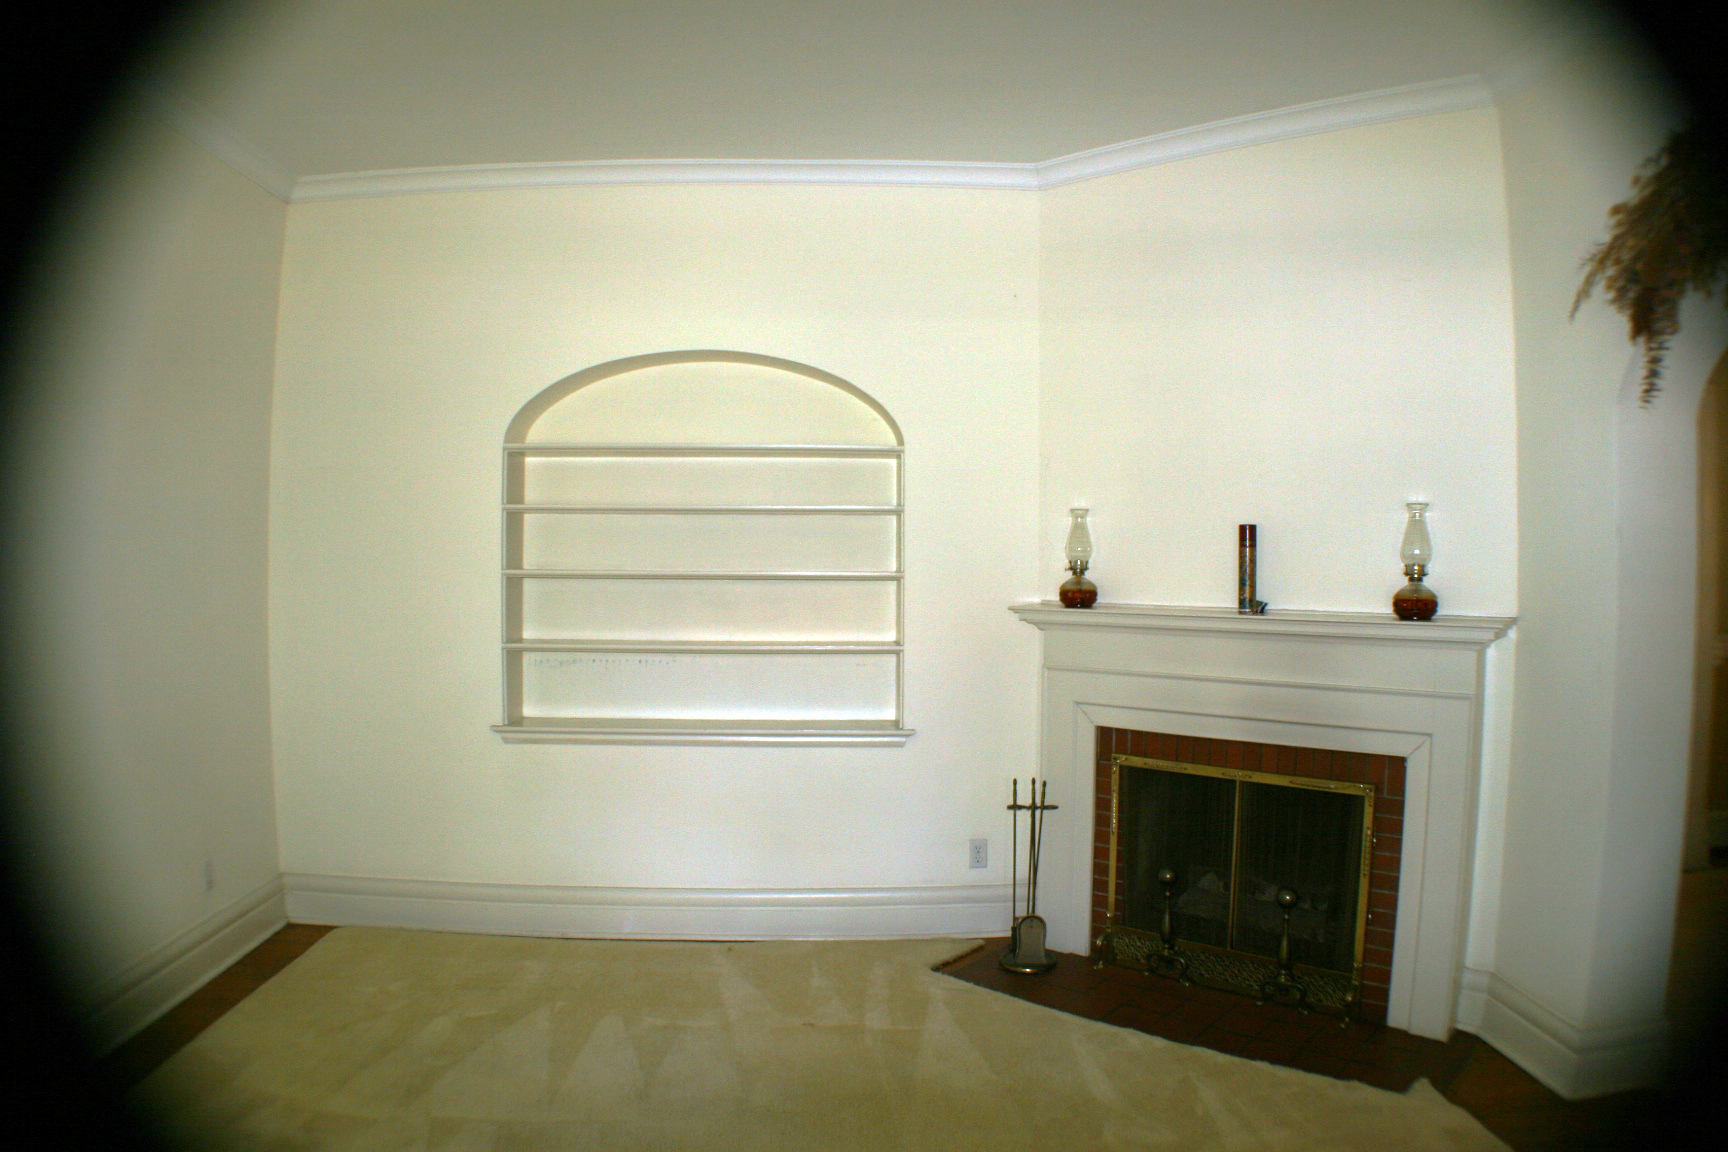
Classic Victorian plaster. Solid, beautiful bones. A perfect blank canvas for my plans… (she conspiratorially twiddles her fingers). But as they were? They had nothing to say to this rug. Nothing to say to each other. Nothing to say at all.
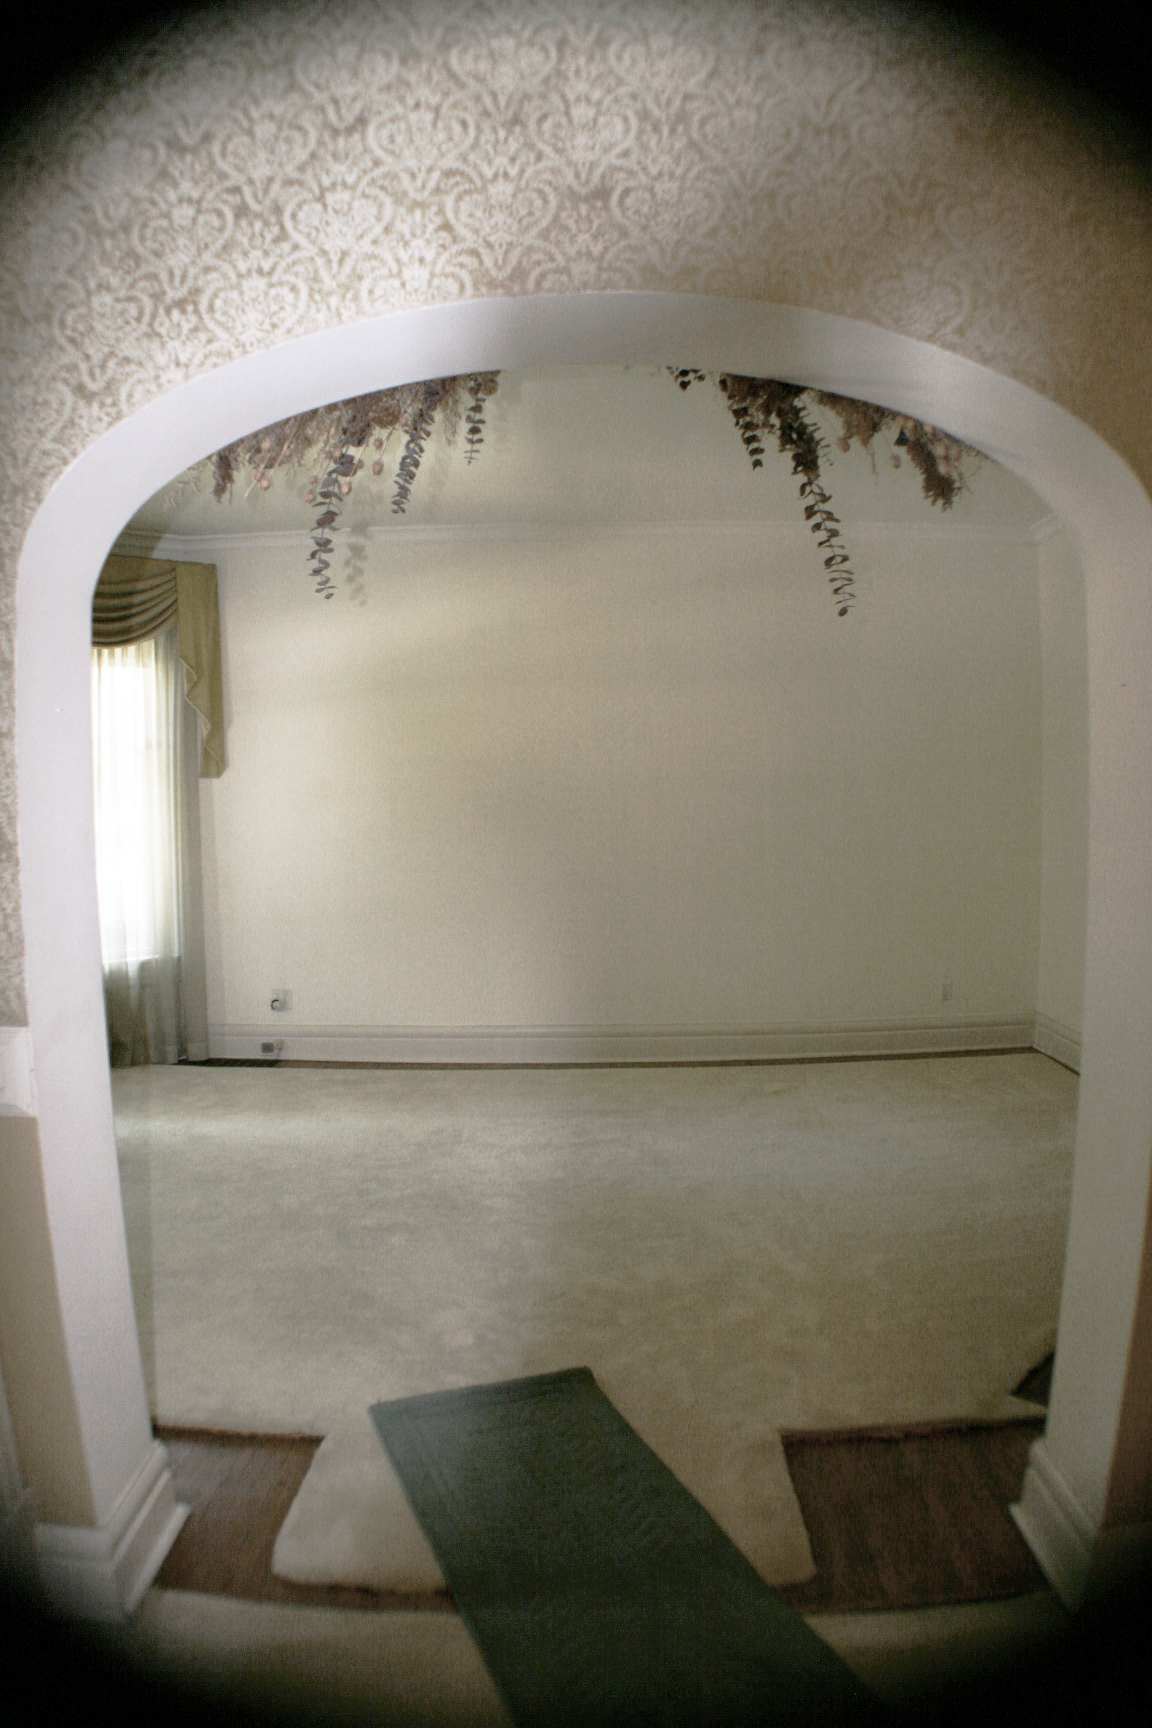
After contemplating for a while, leafing through the paint effects books I had been collecting for years(and finally had the opportunity to use!), I decided I wanted to marbleize them.
Months of Research Before a Single Brush Touched the Wall
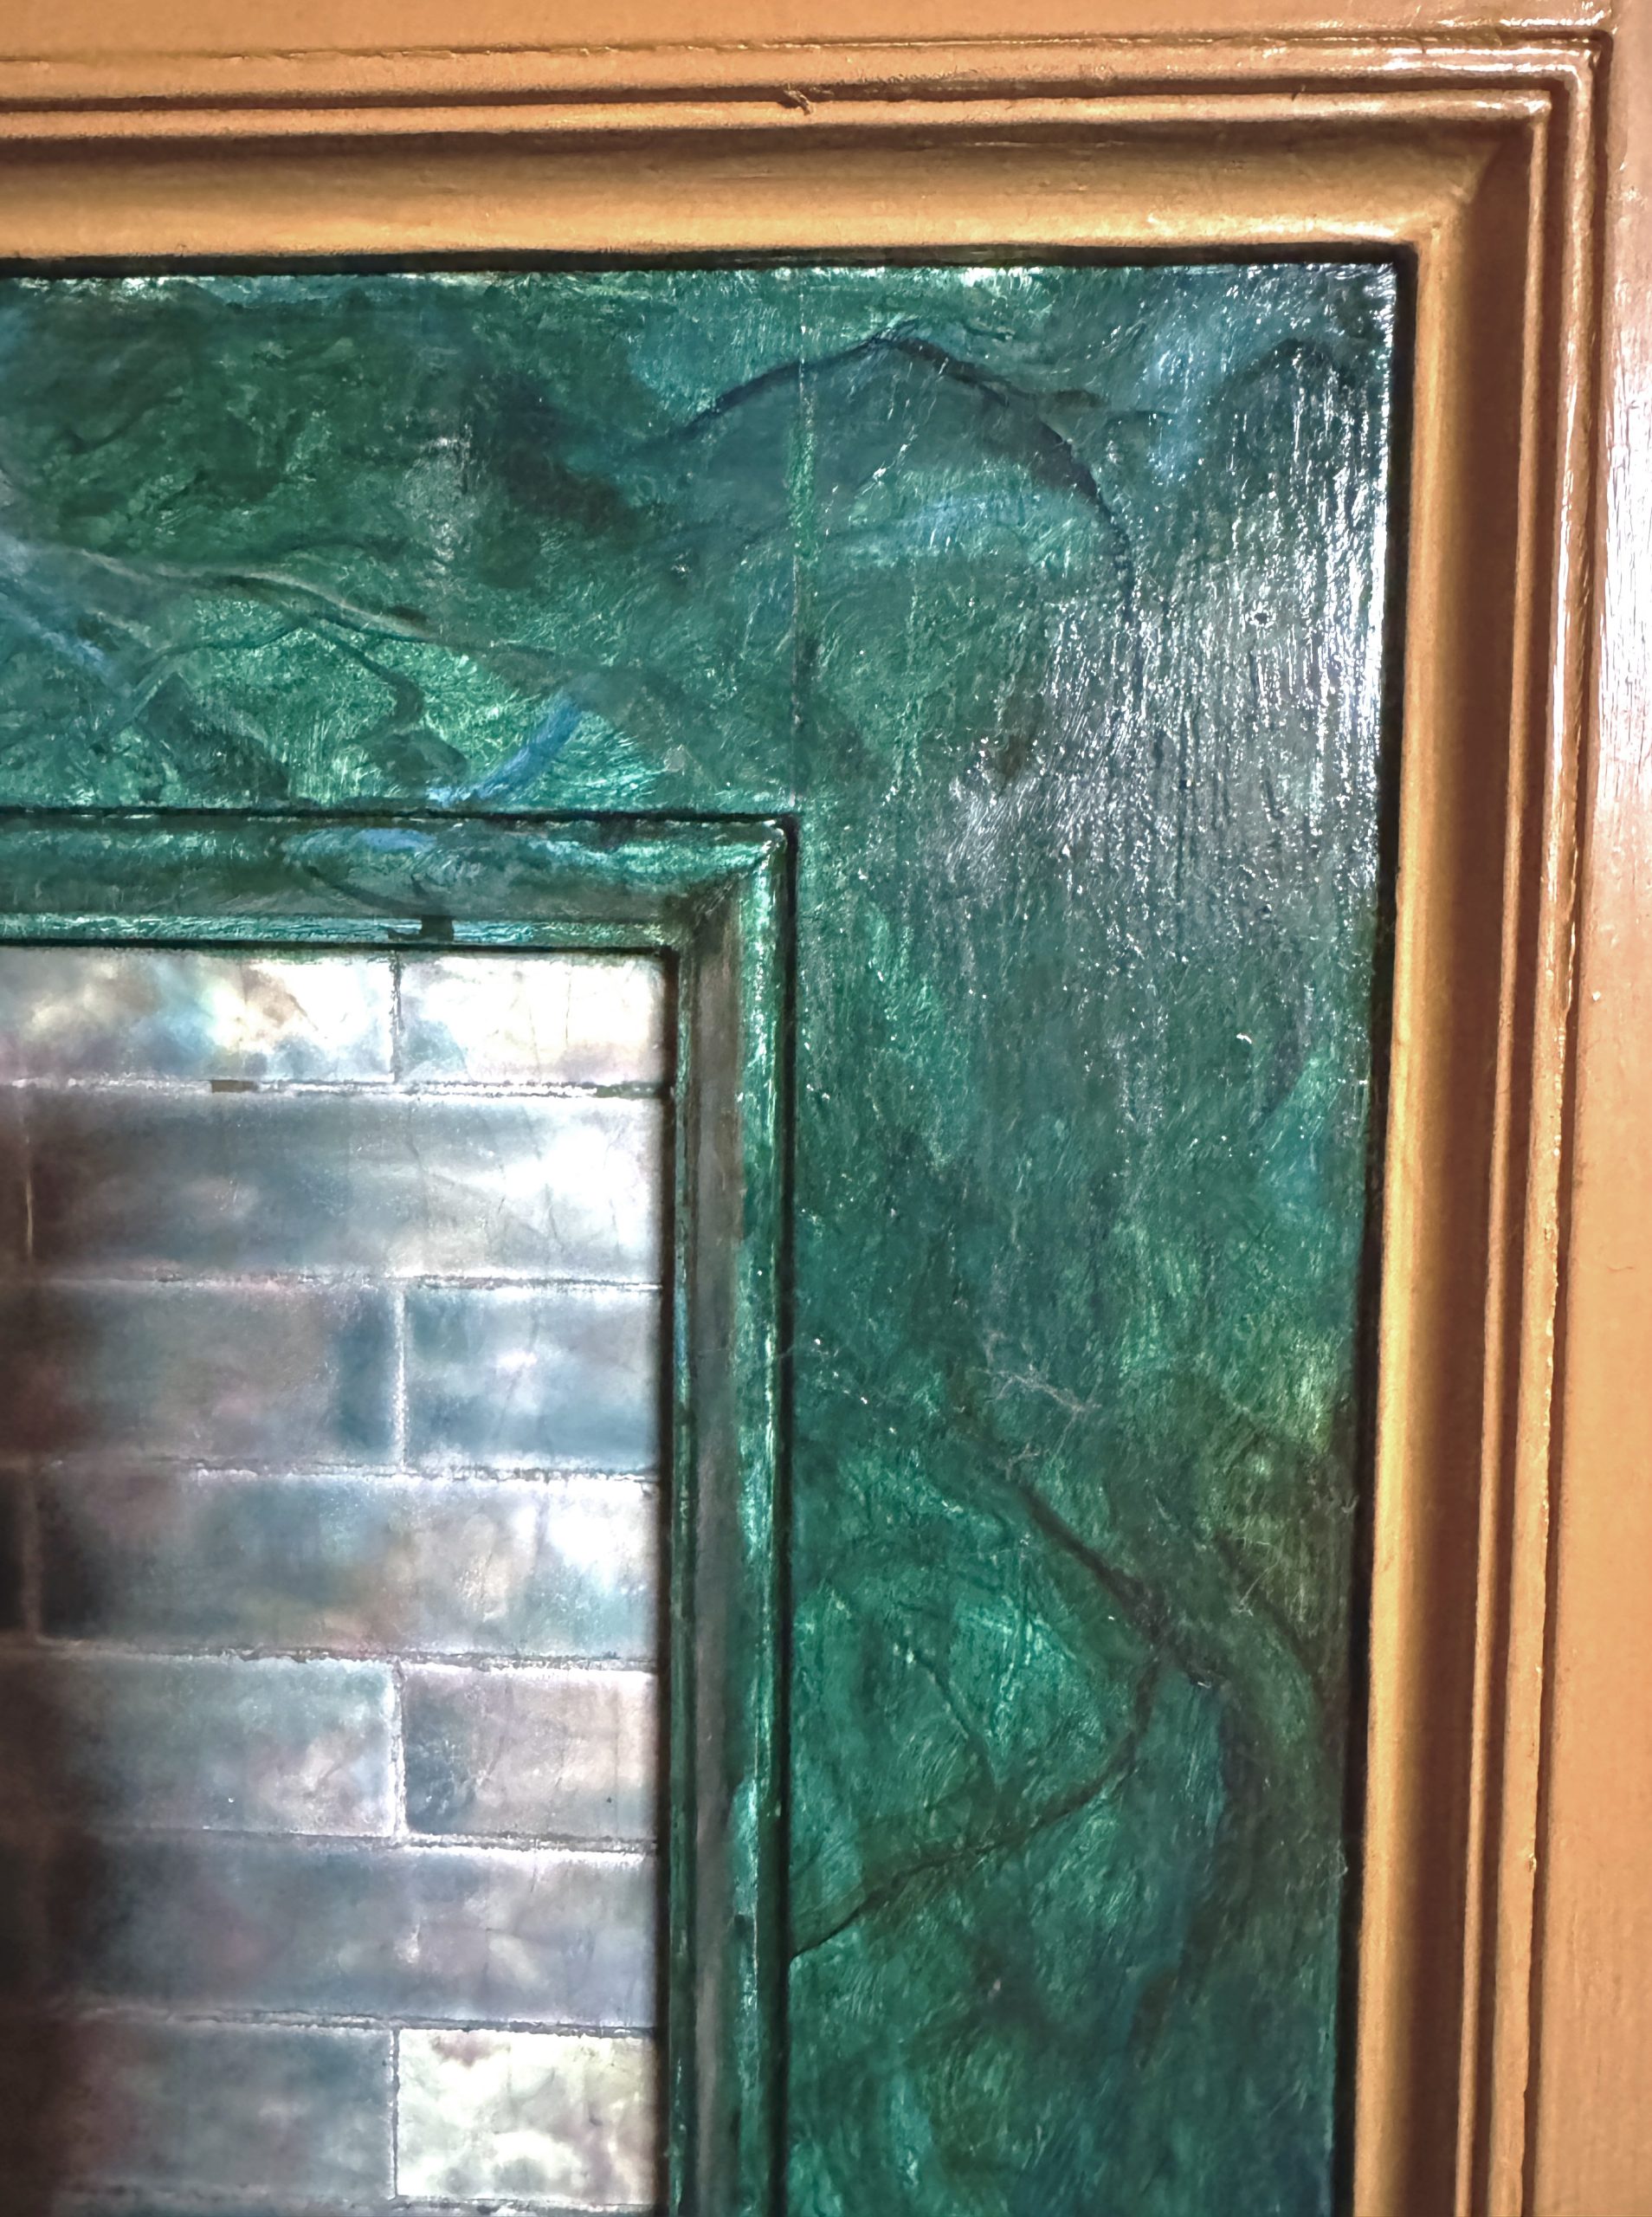
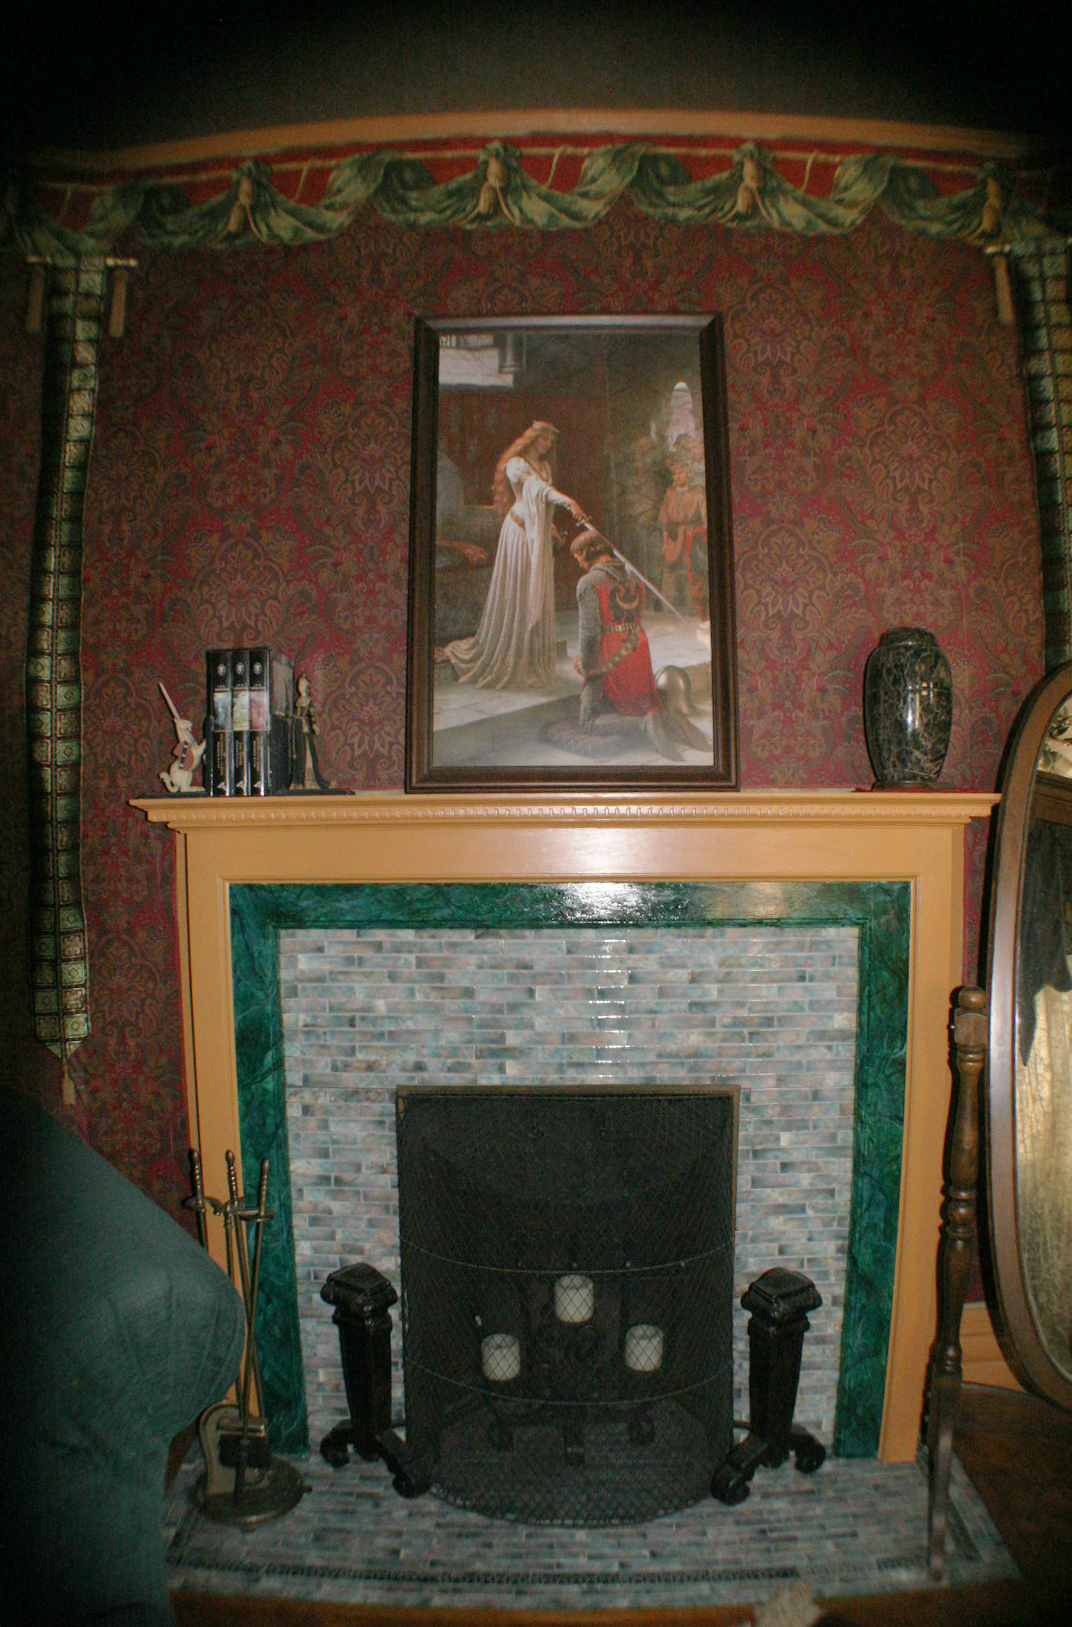
First, I practiced using the traditional oil paint marbleizing method on the surround around the fireplace in my master bedroom. It turned out great — genuinely beautiful.
But that process is time consuming, finicky, hard to control, and uses pretty toxic oil paints. Doing it on one fireplace surround with good ventilation is one thing. Doing it on every wall of a very large room? Absolutely insane. (Even for me.) I needed a different approach.
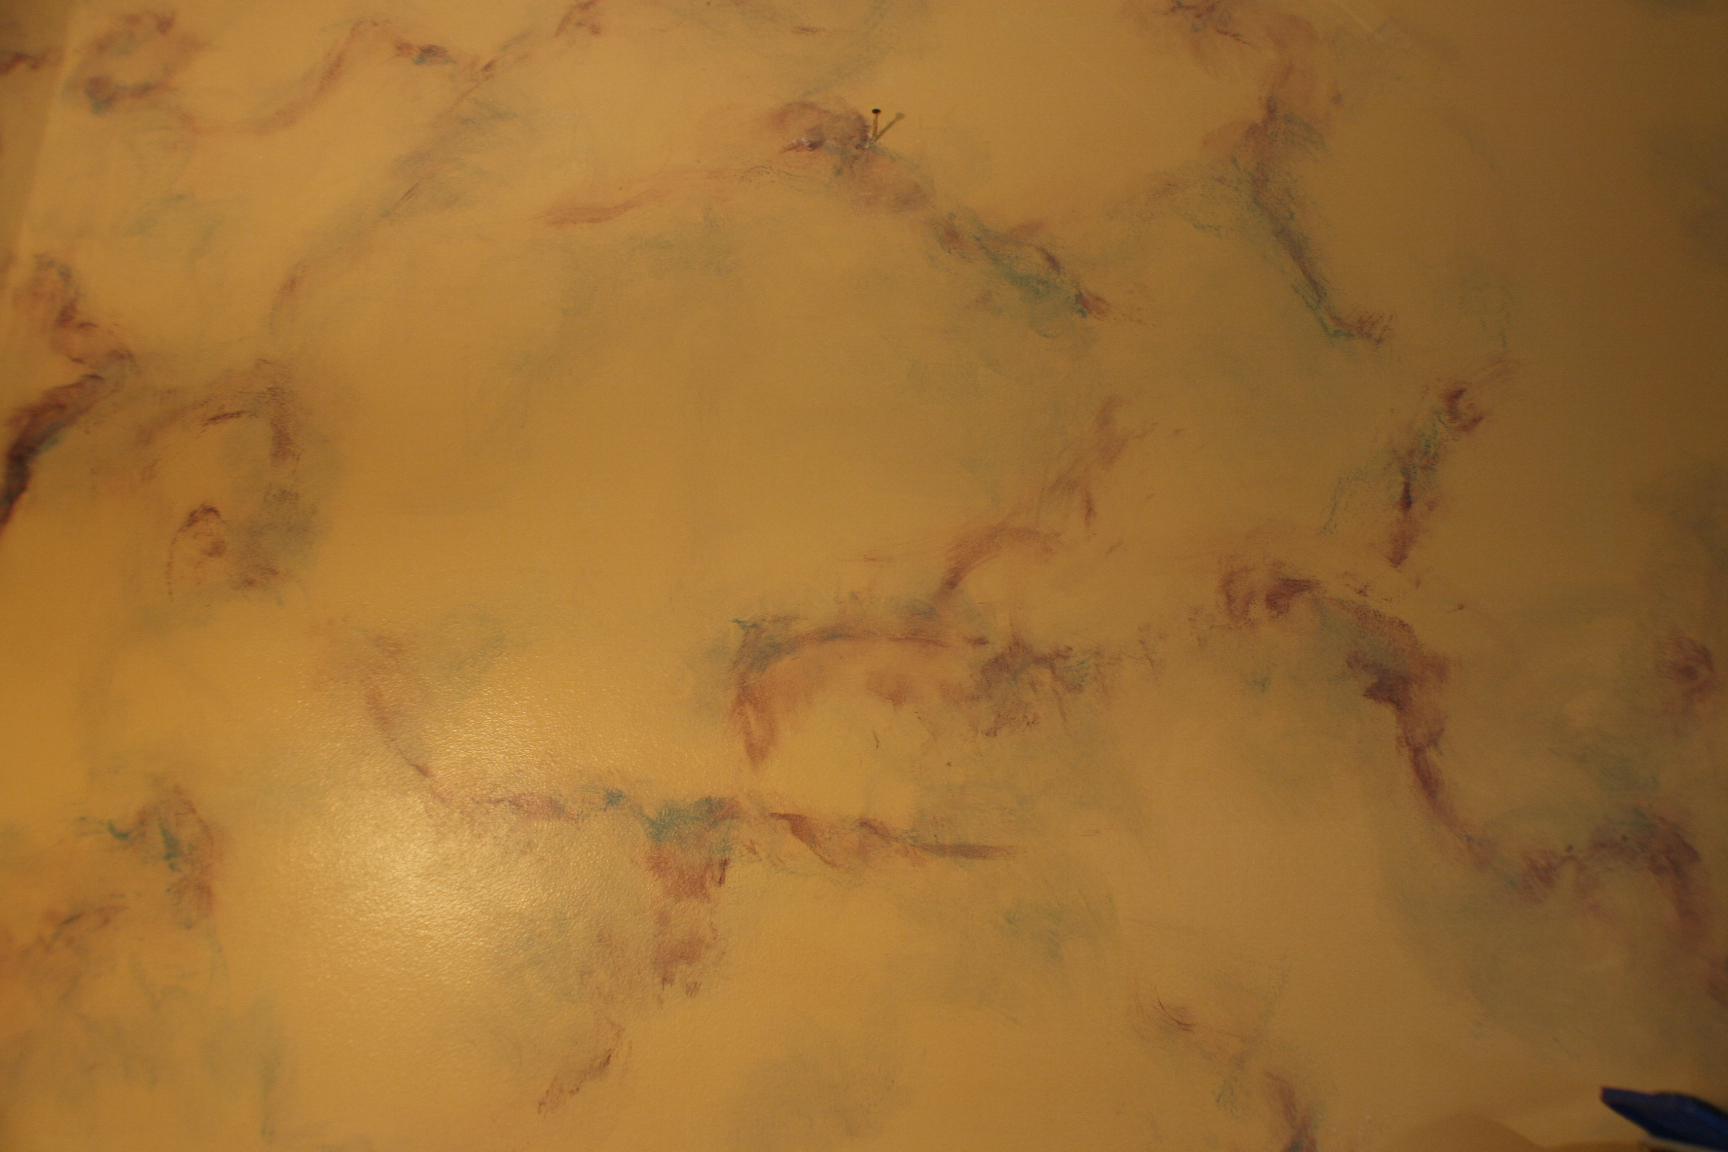
Also, and this is the punchline: I didn’t want to create your ‘average’ faux marble — if there is such a thing — but one with a LOT MORE color than any marble that ever existed.
So naturally, I decided to do it in thirteen colors.
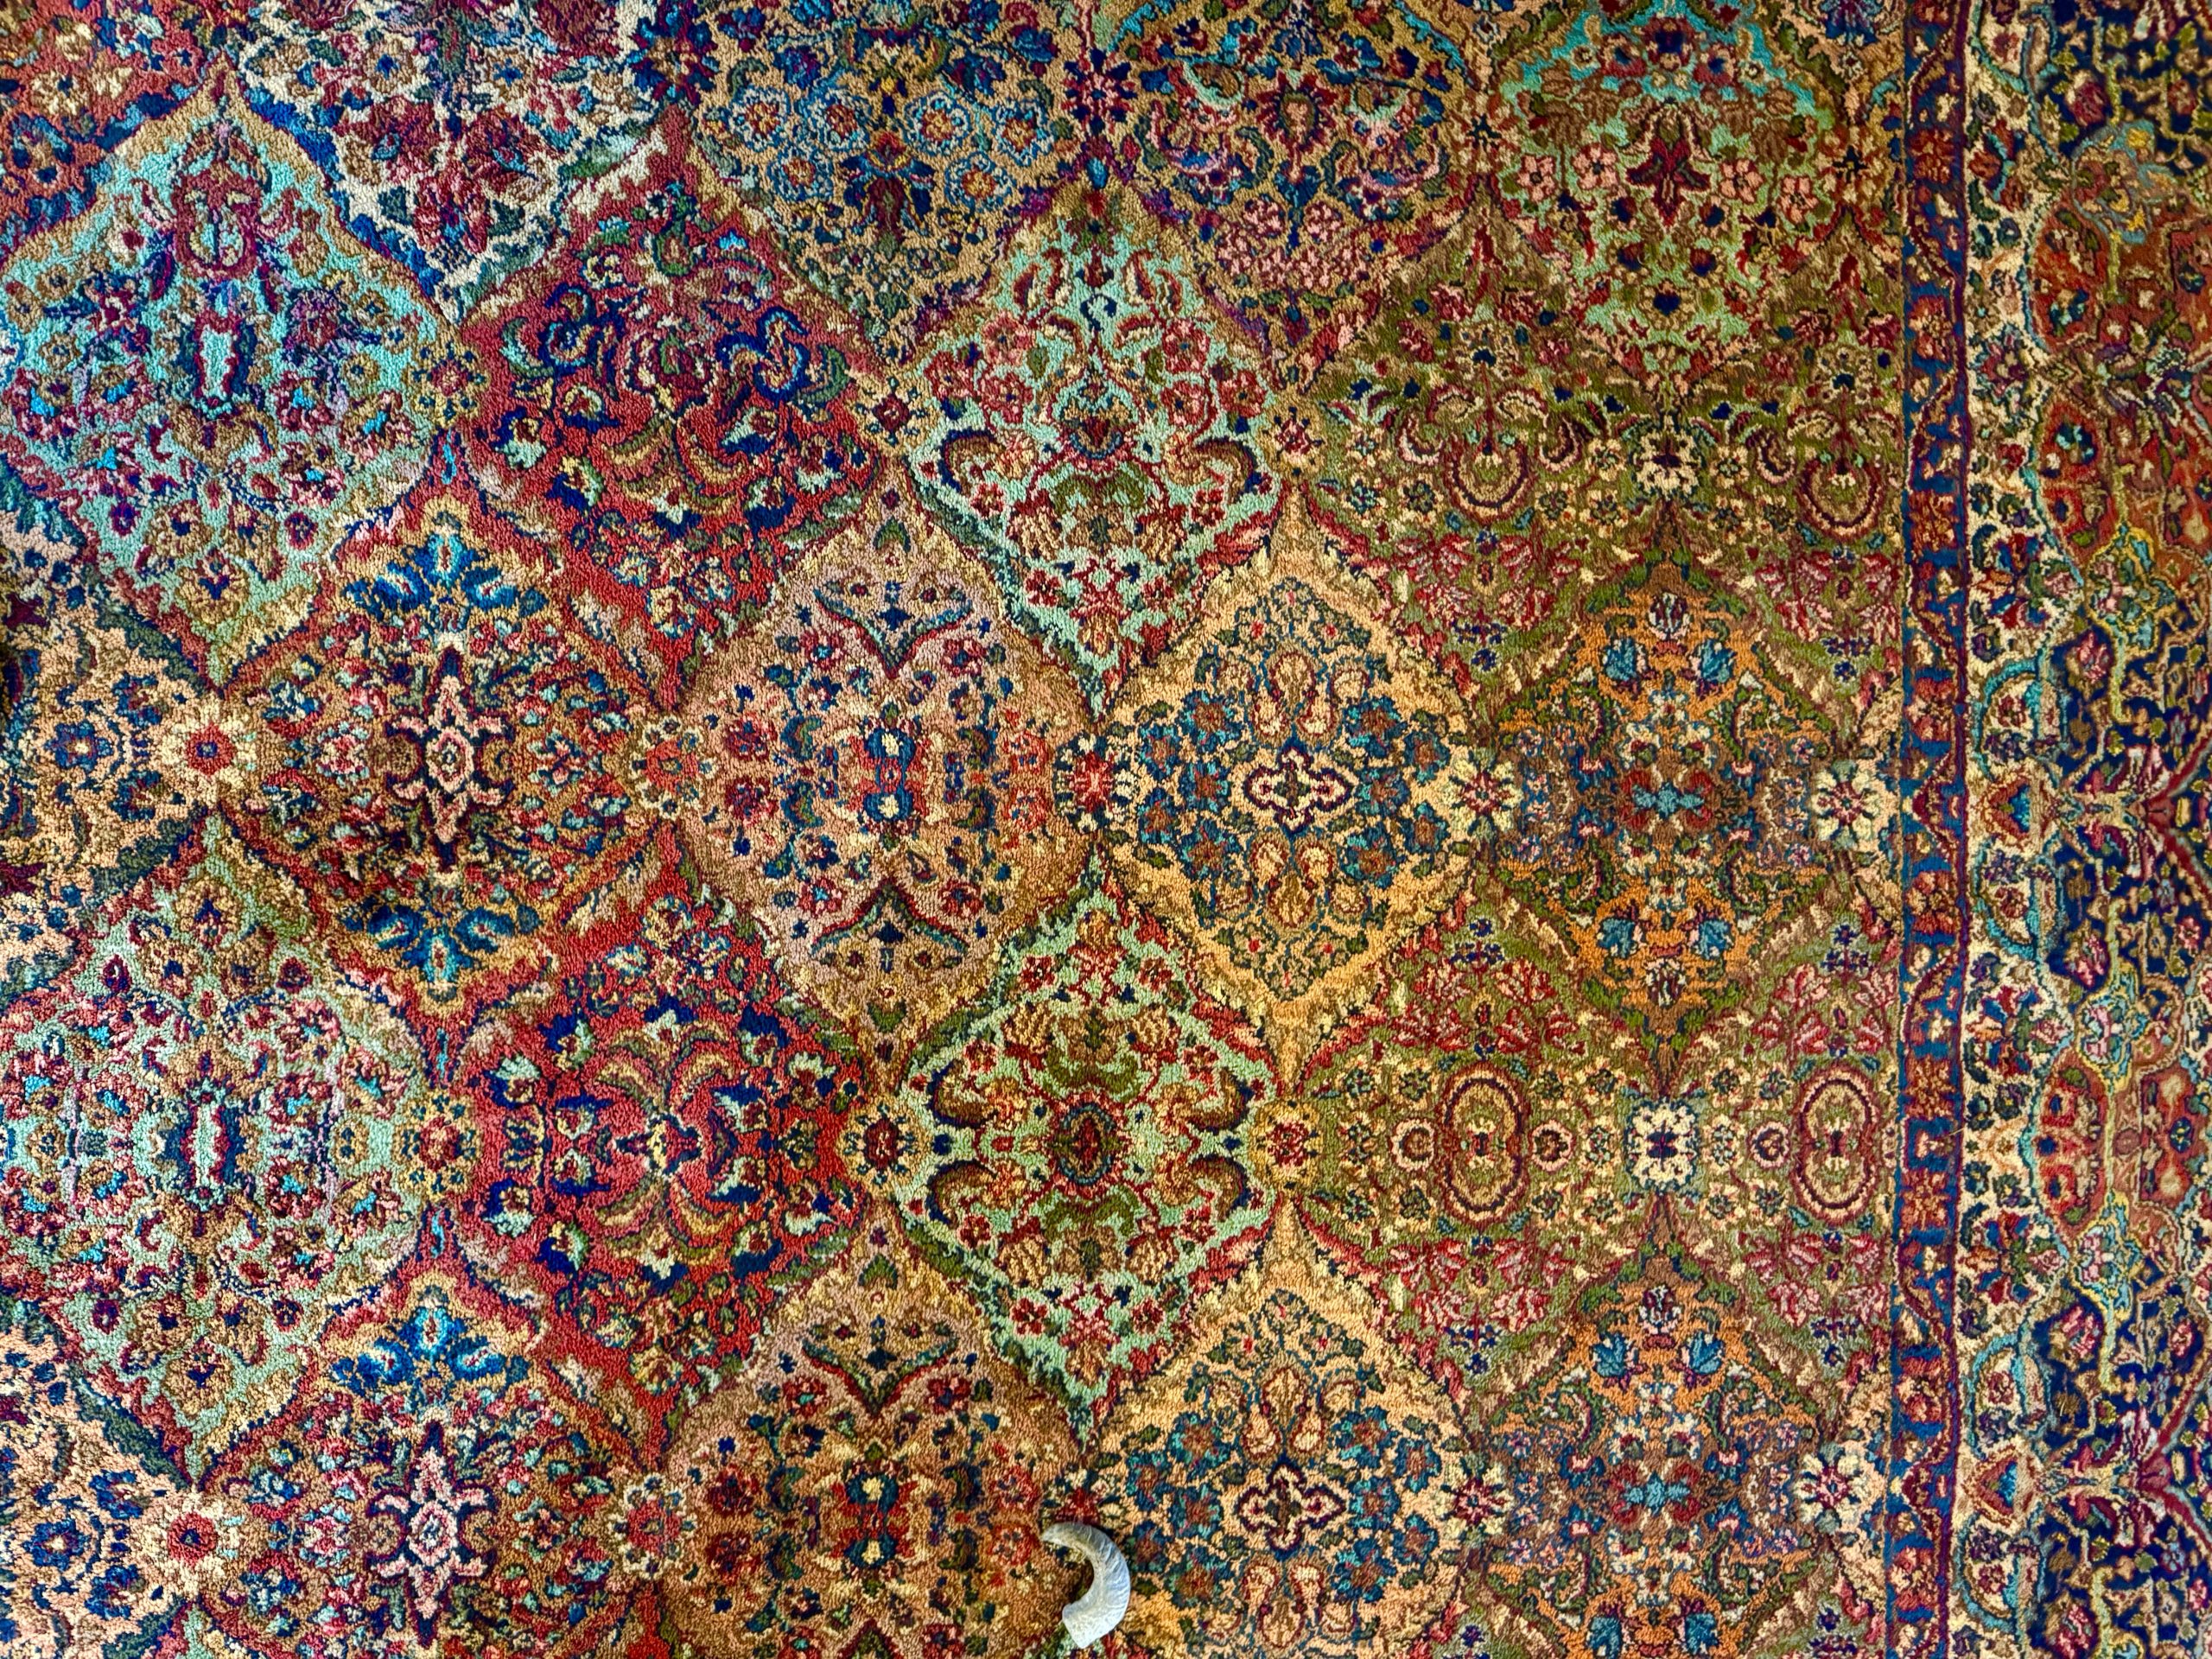
Inspired by the rug. Which, as my mom recently reminded me, actually has over fifty colors in it. So, you know, I scaled back! Well… my version of scaling back.
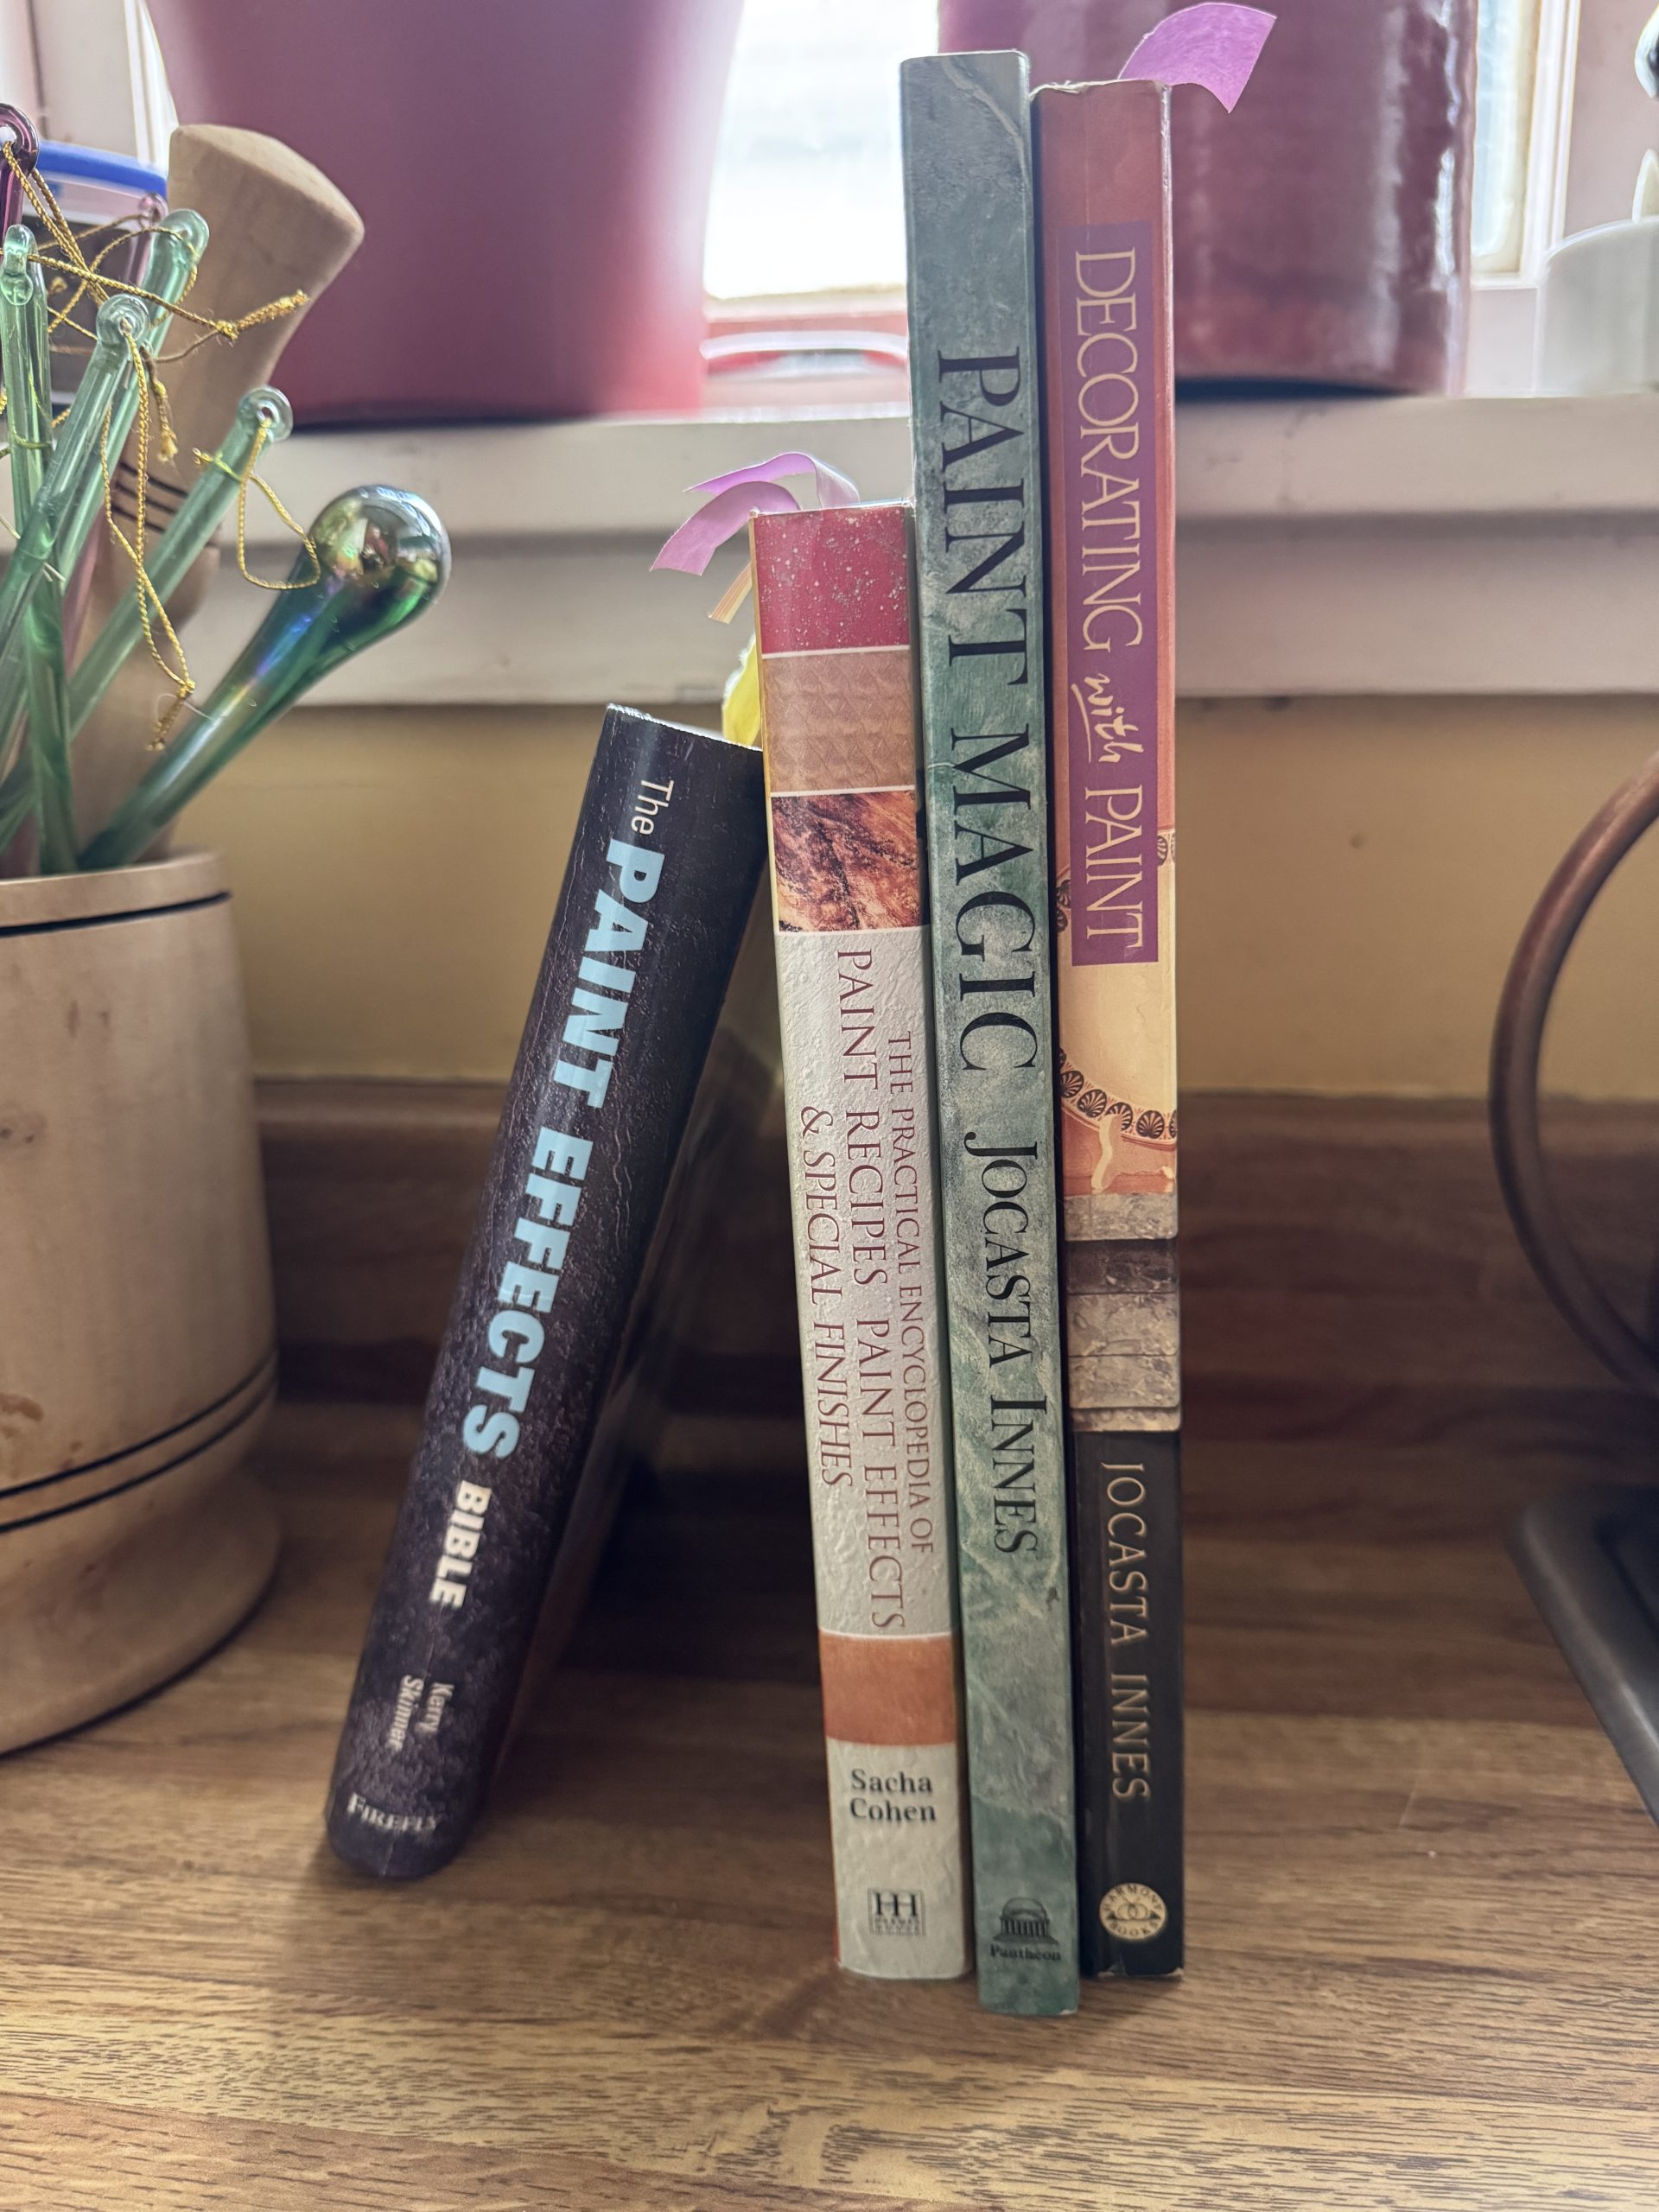
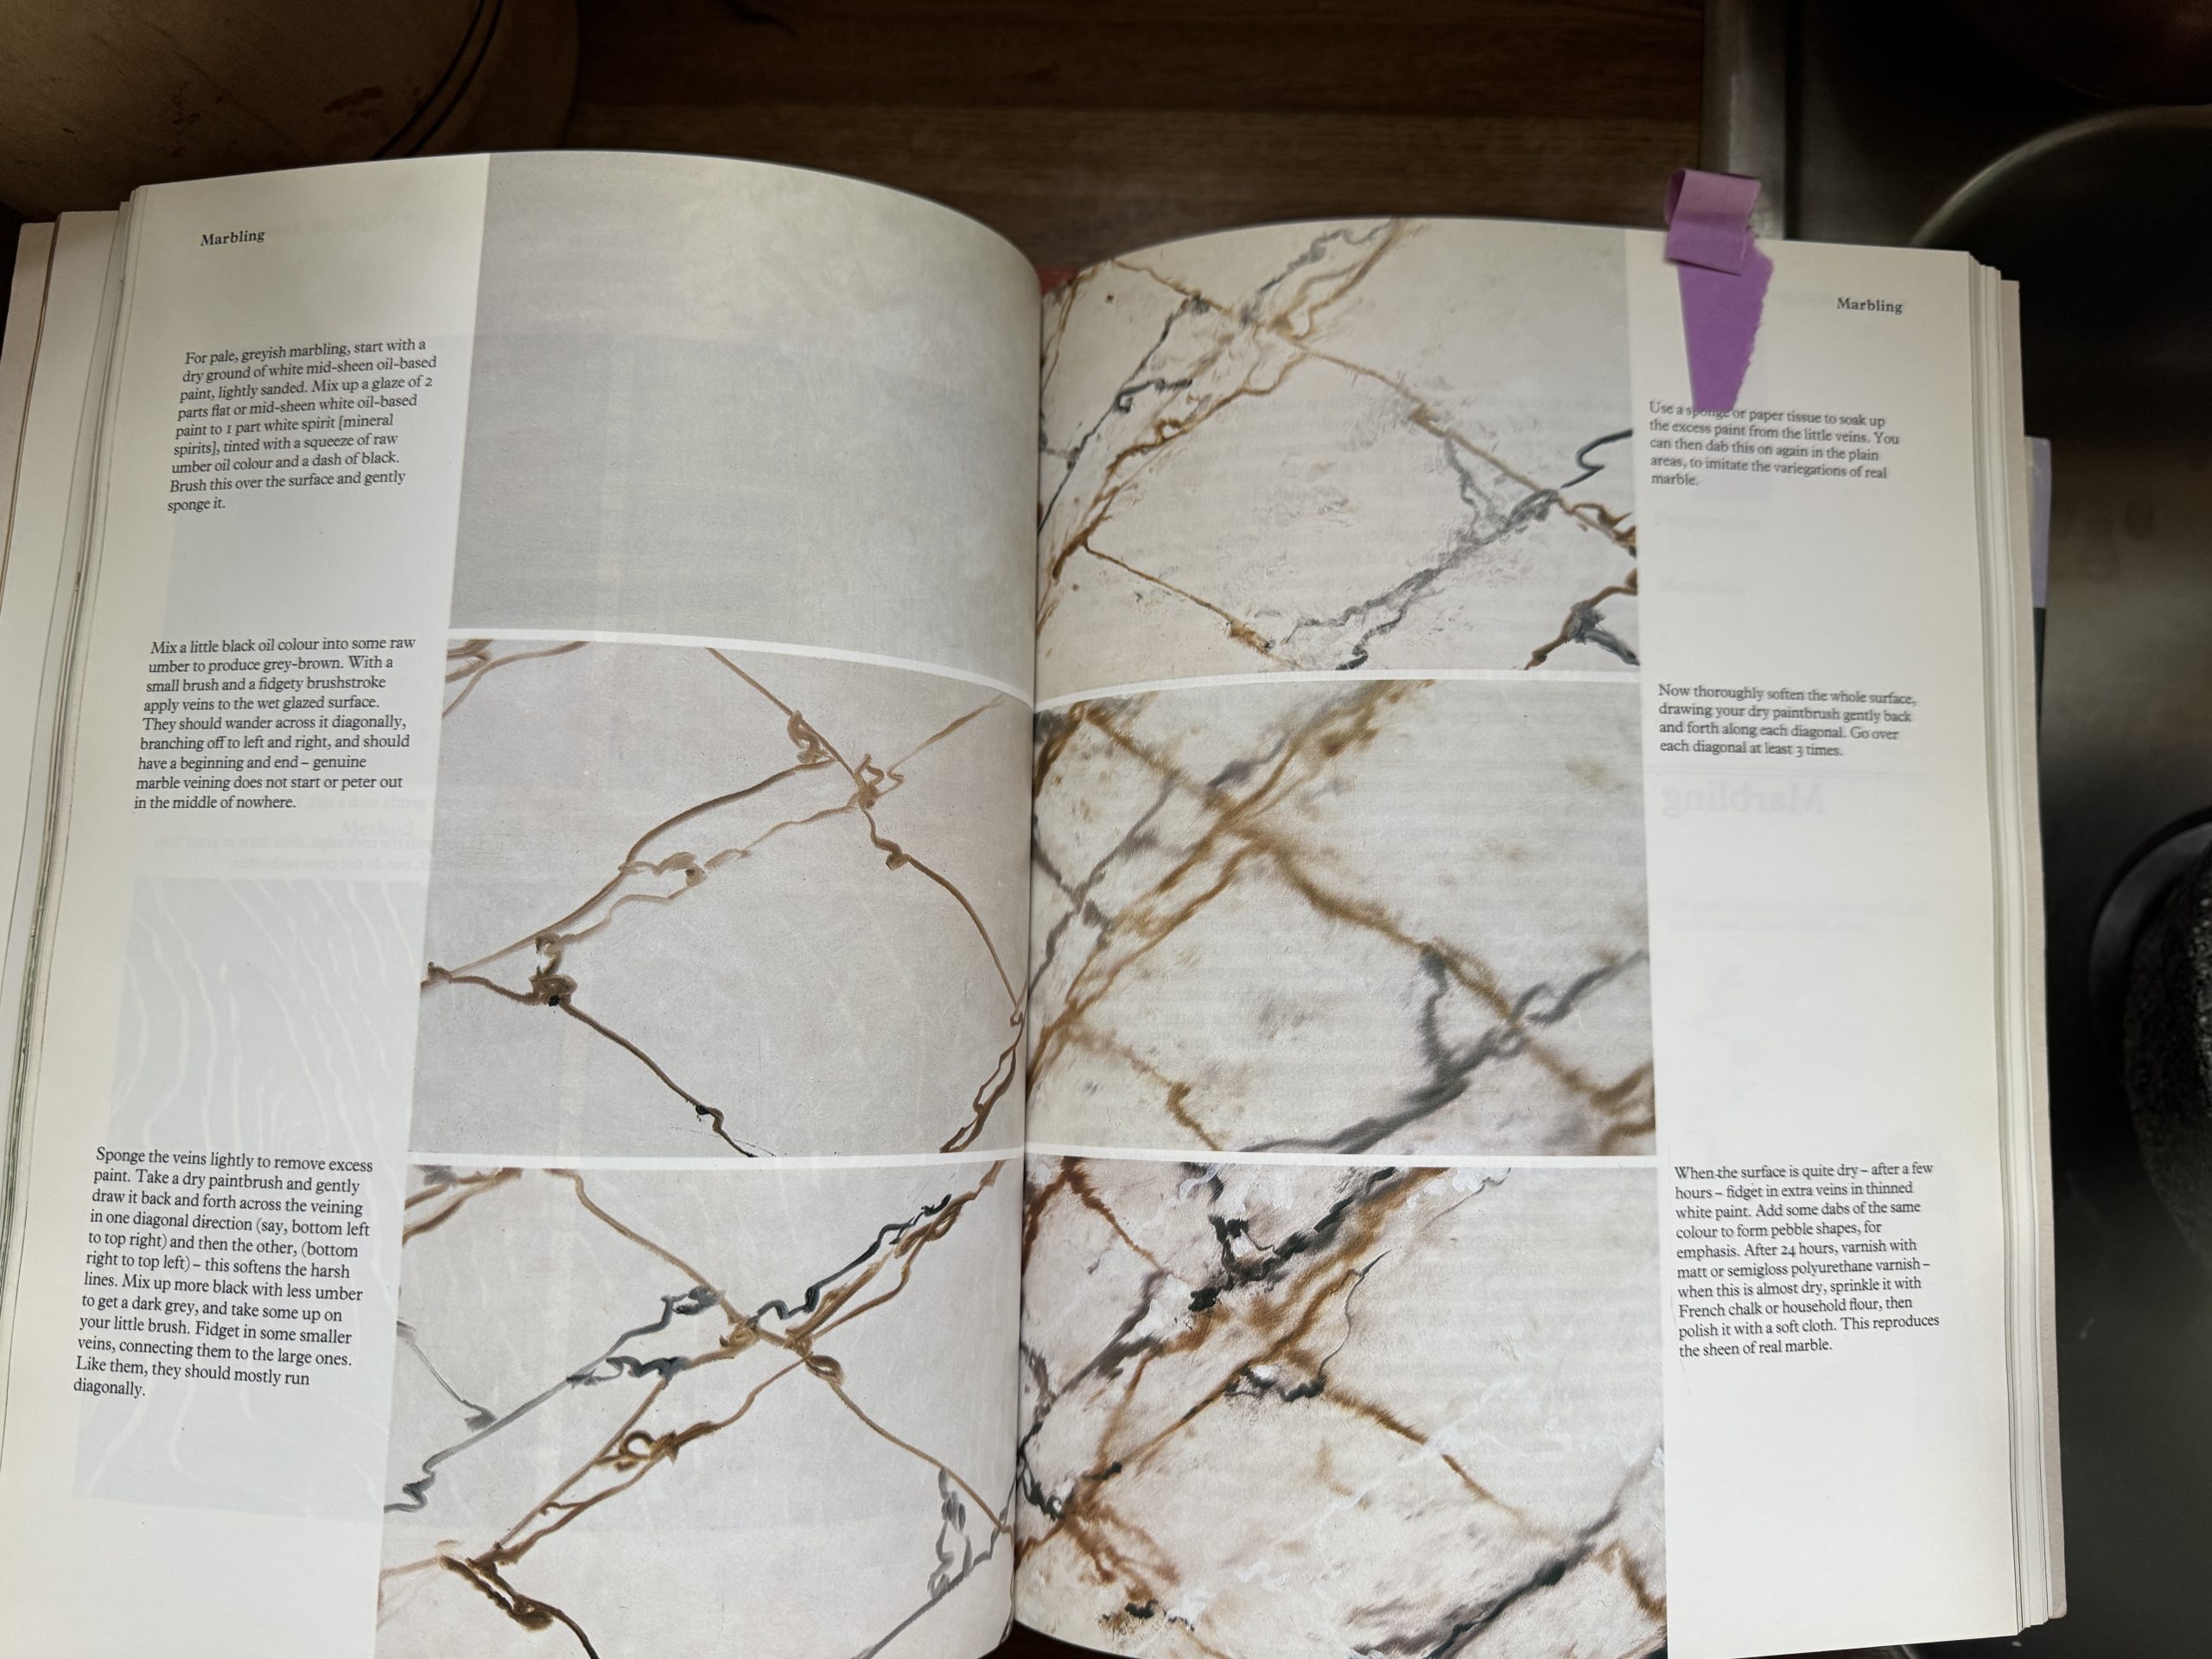
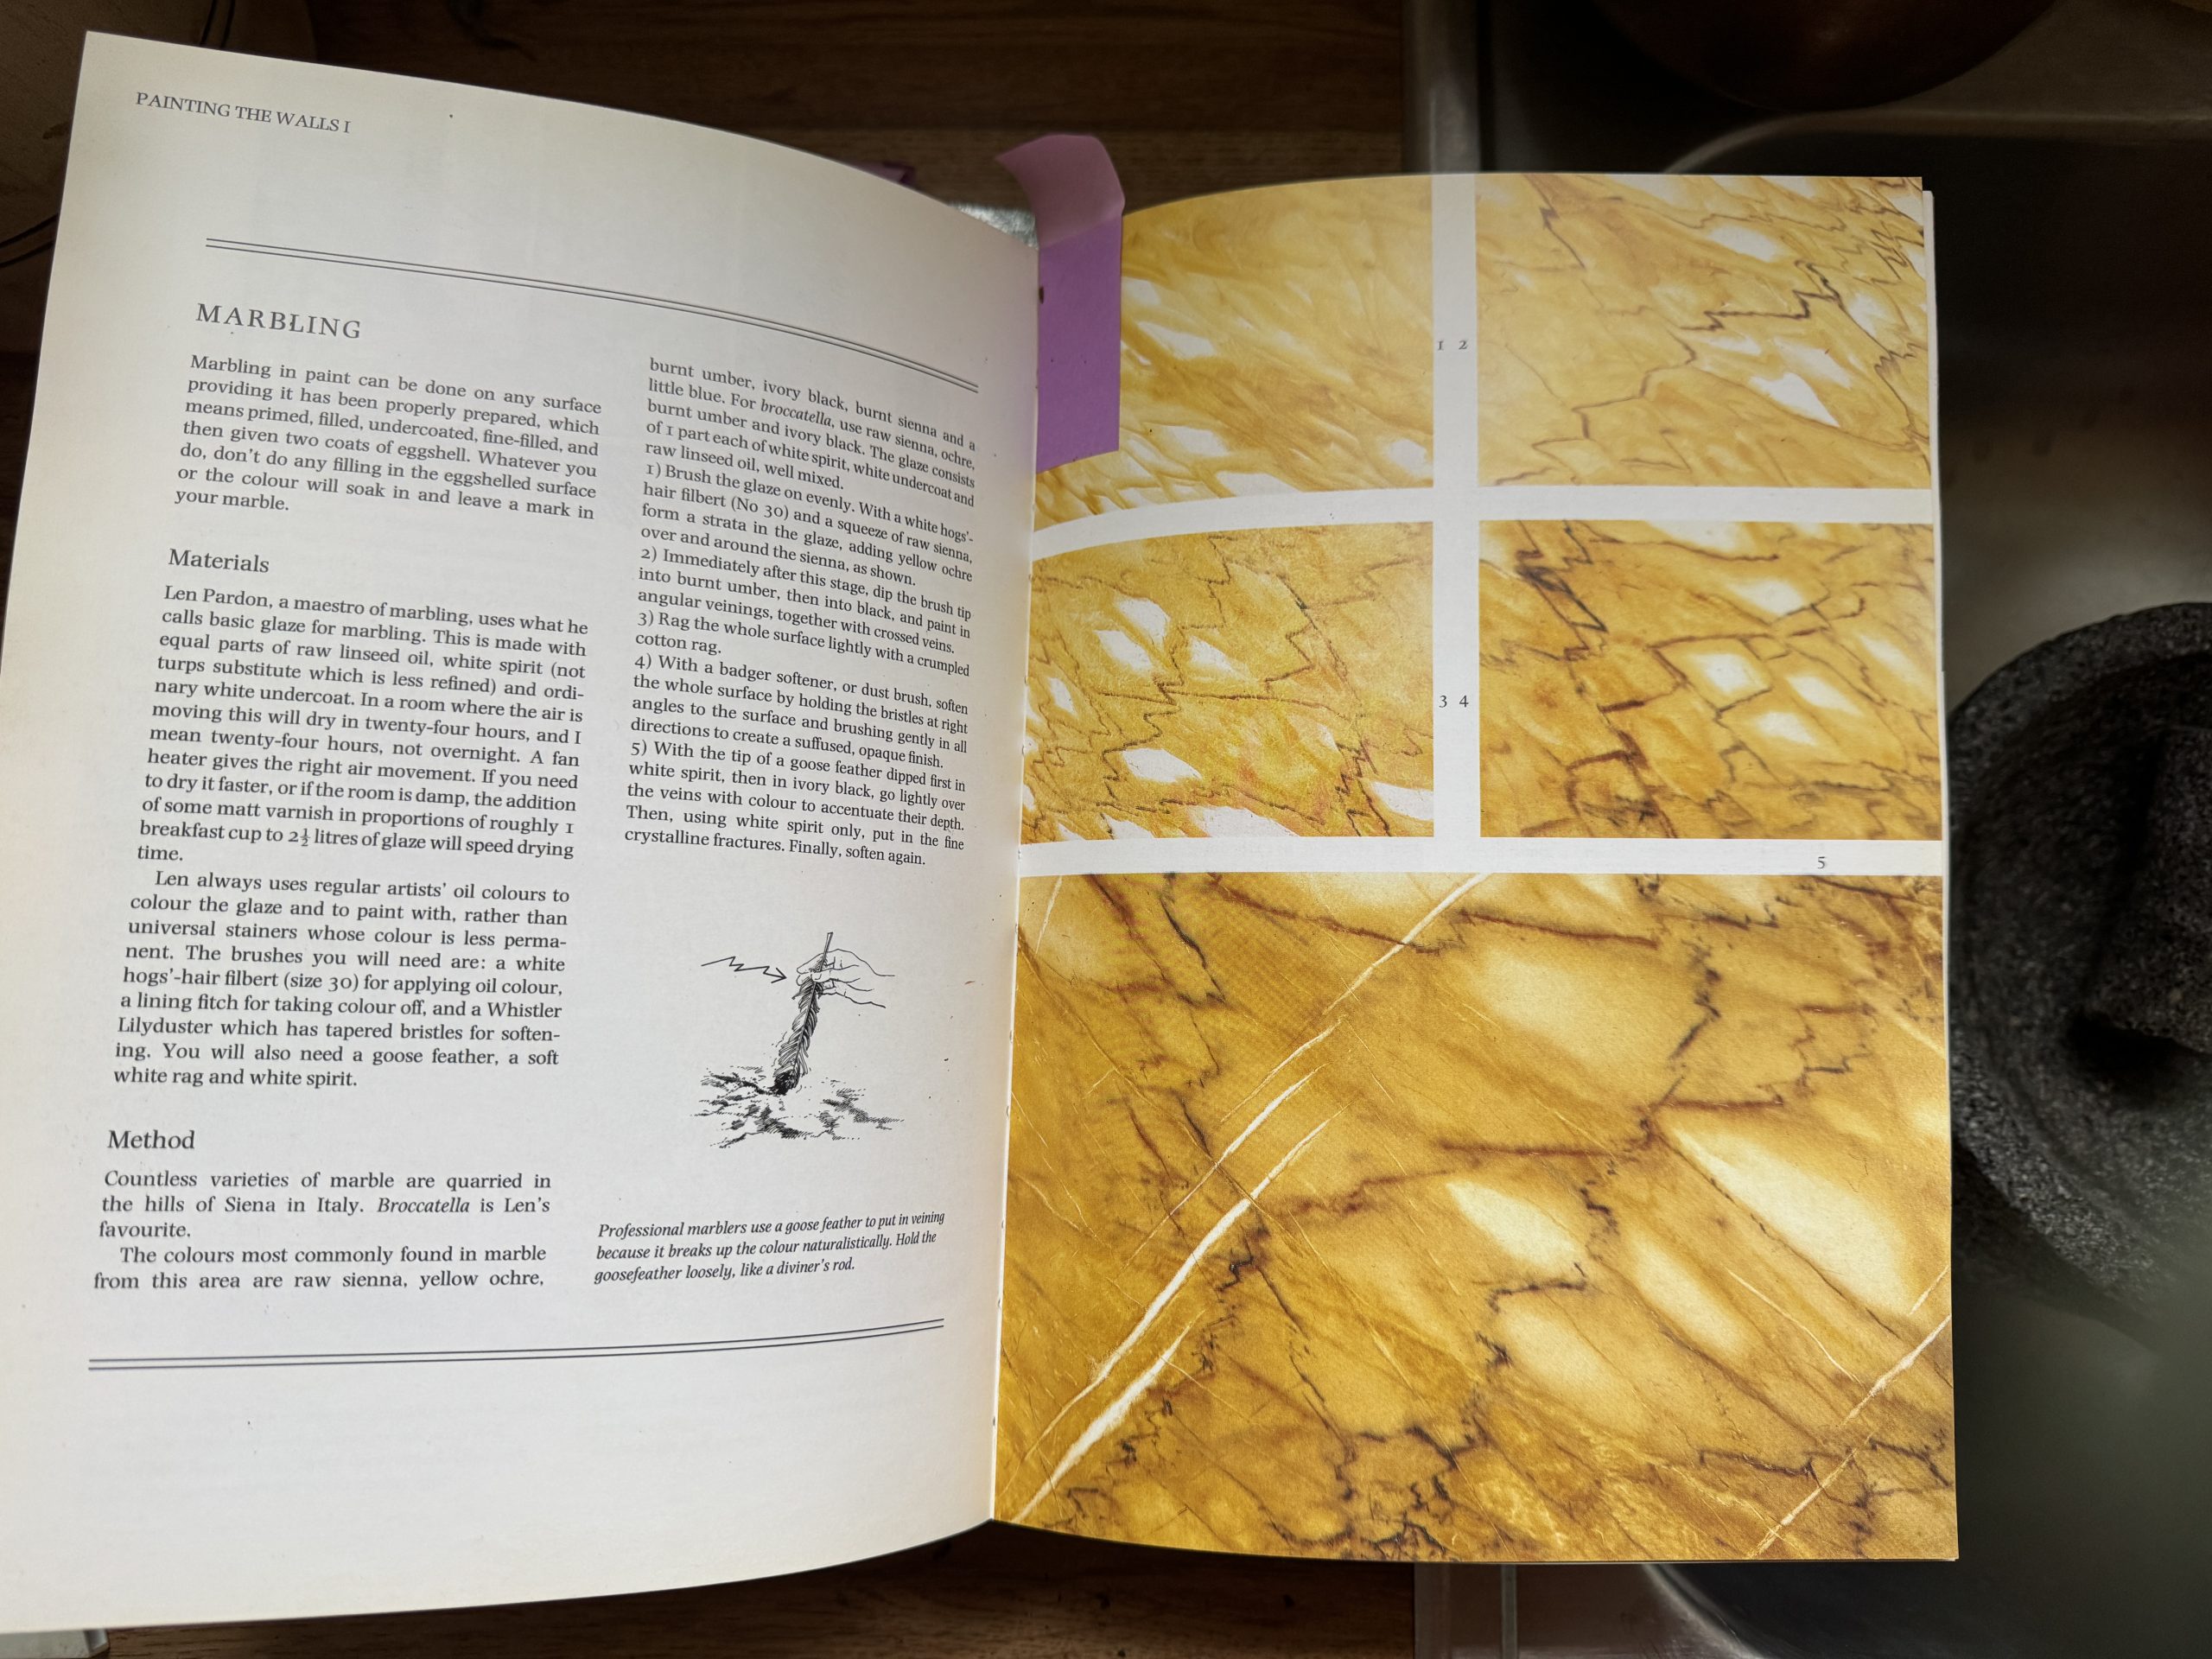
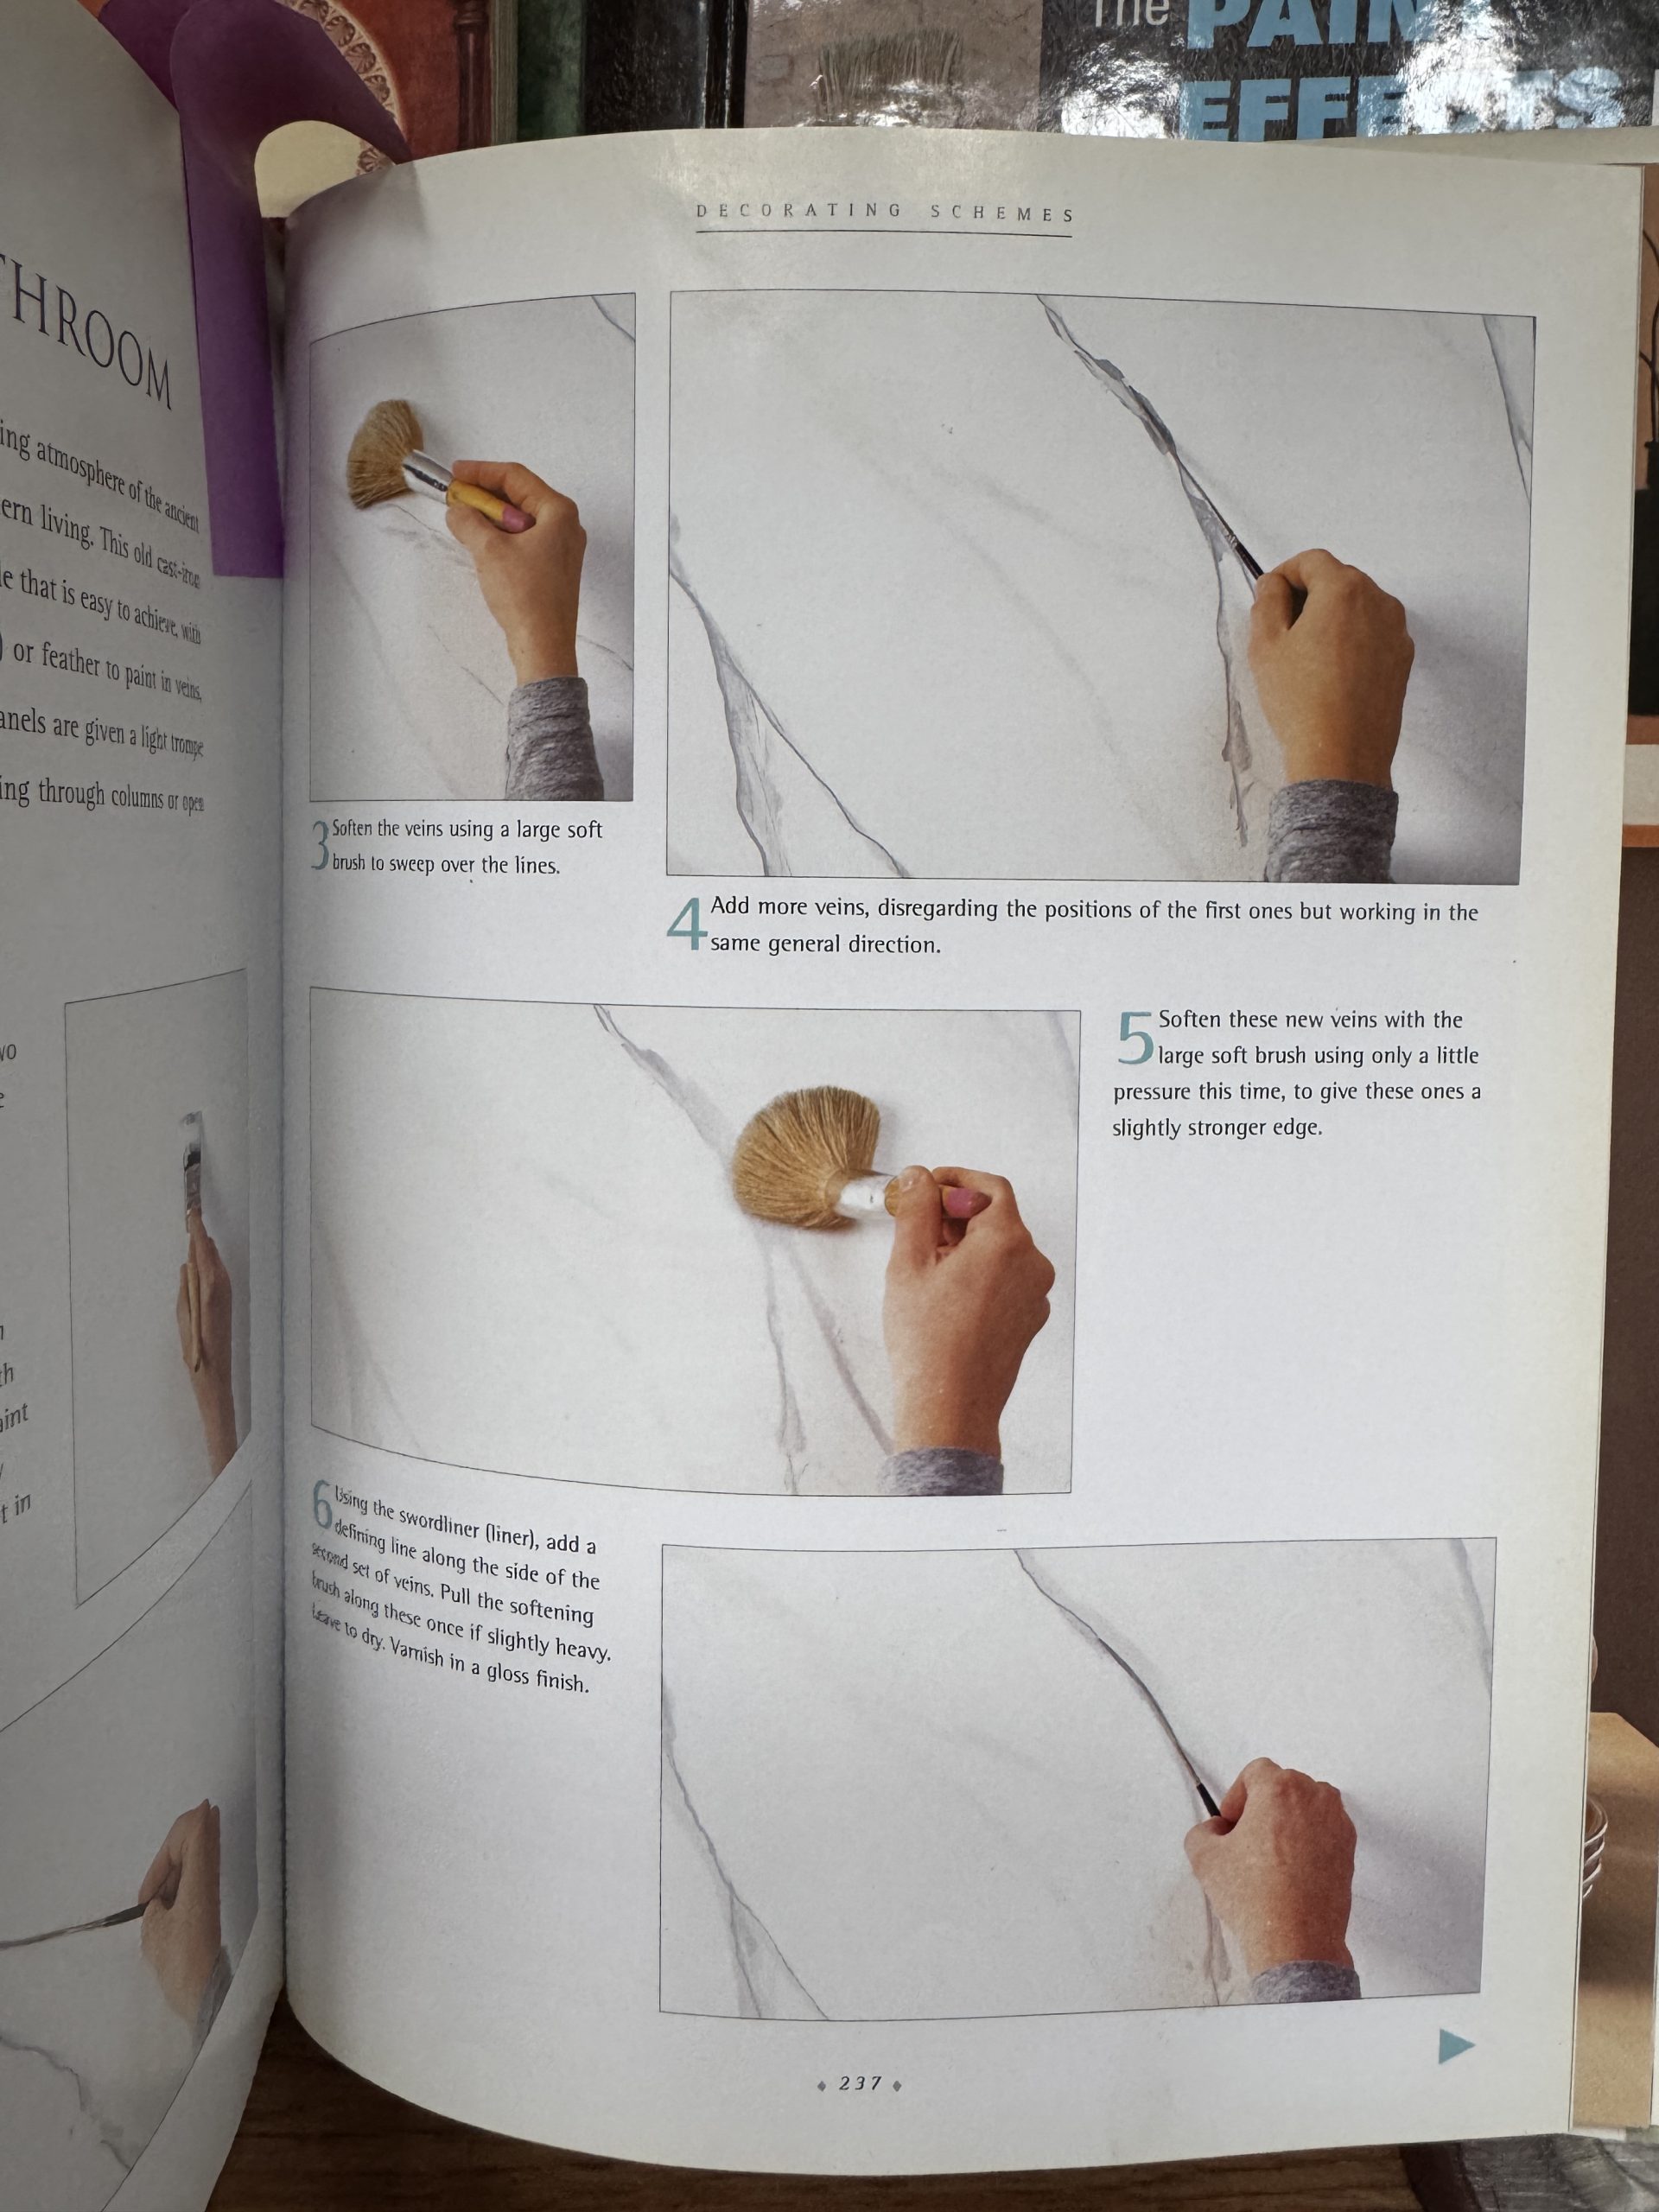
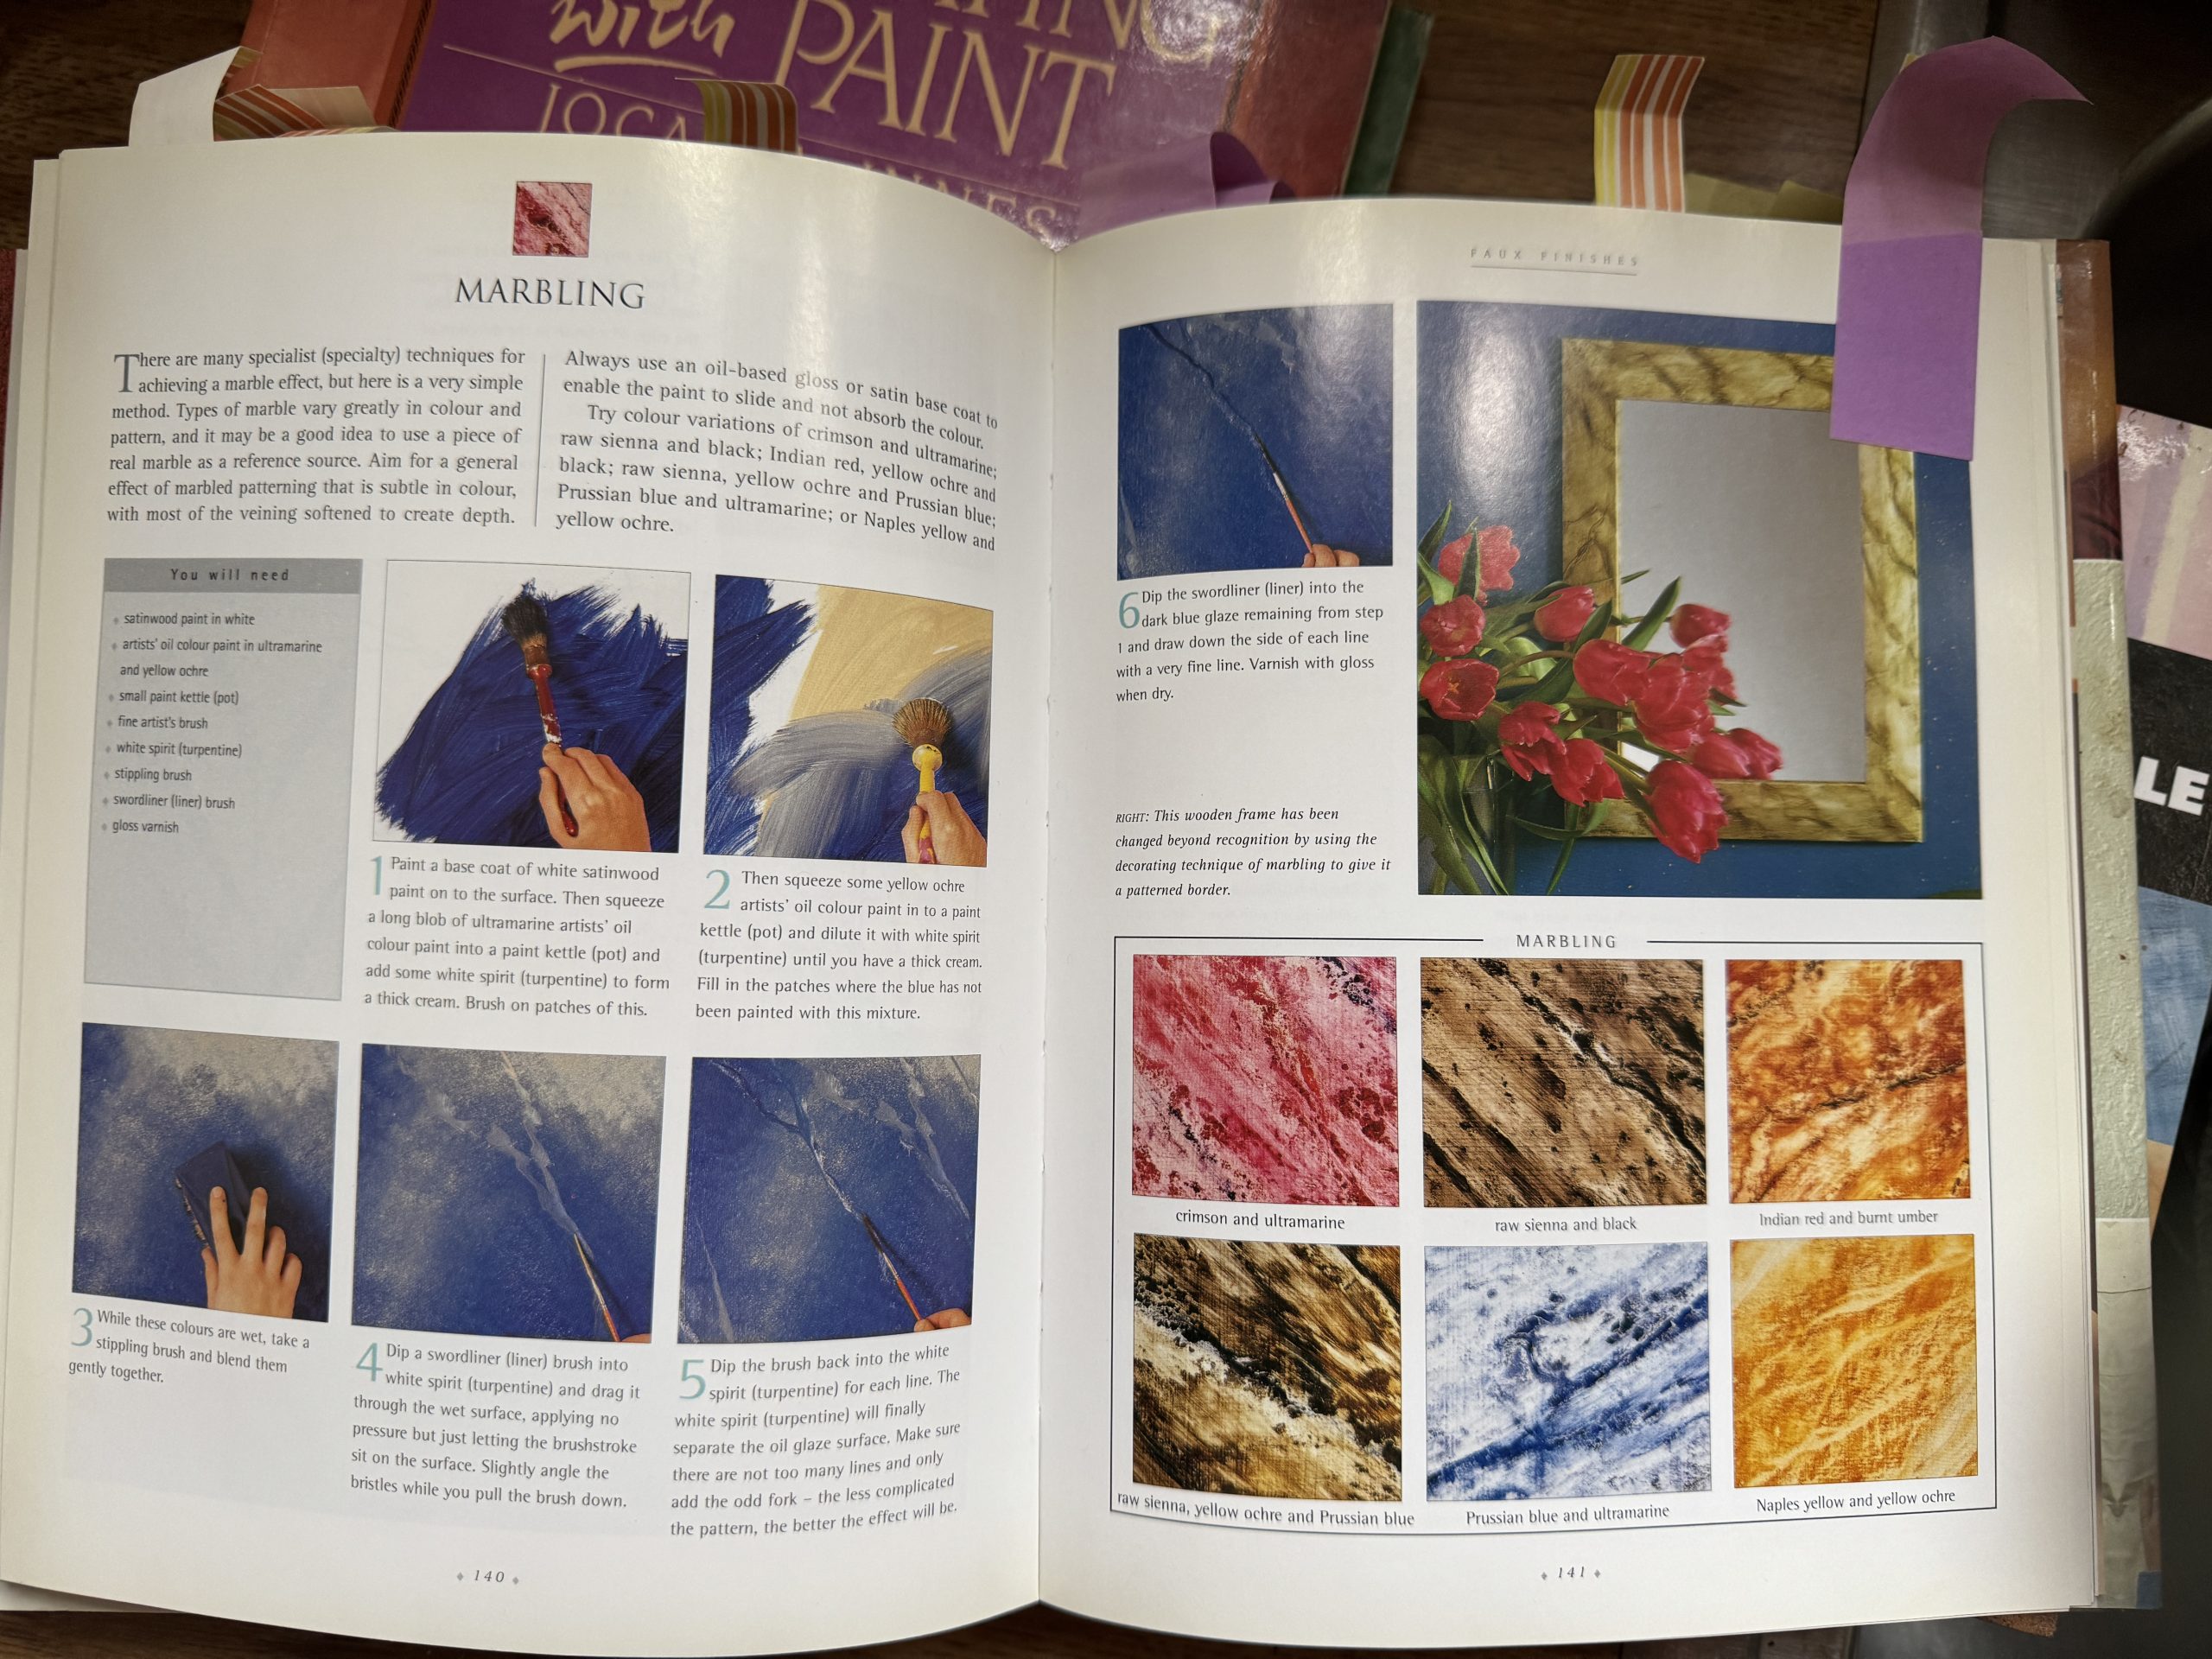
All together I spent months researching. Picking out and narrowing down paint swatches. Practiced on sample boards. This is before there was such a wealth of how-to's on youtube so I mostly relied on my library of process books. The books are particularly good with step-by-step photos which really helped me break the project down into stages.
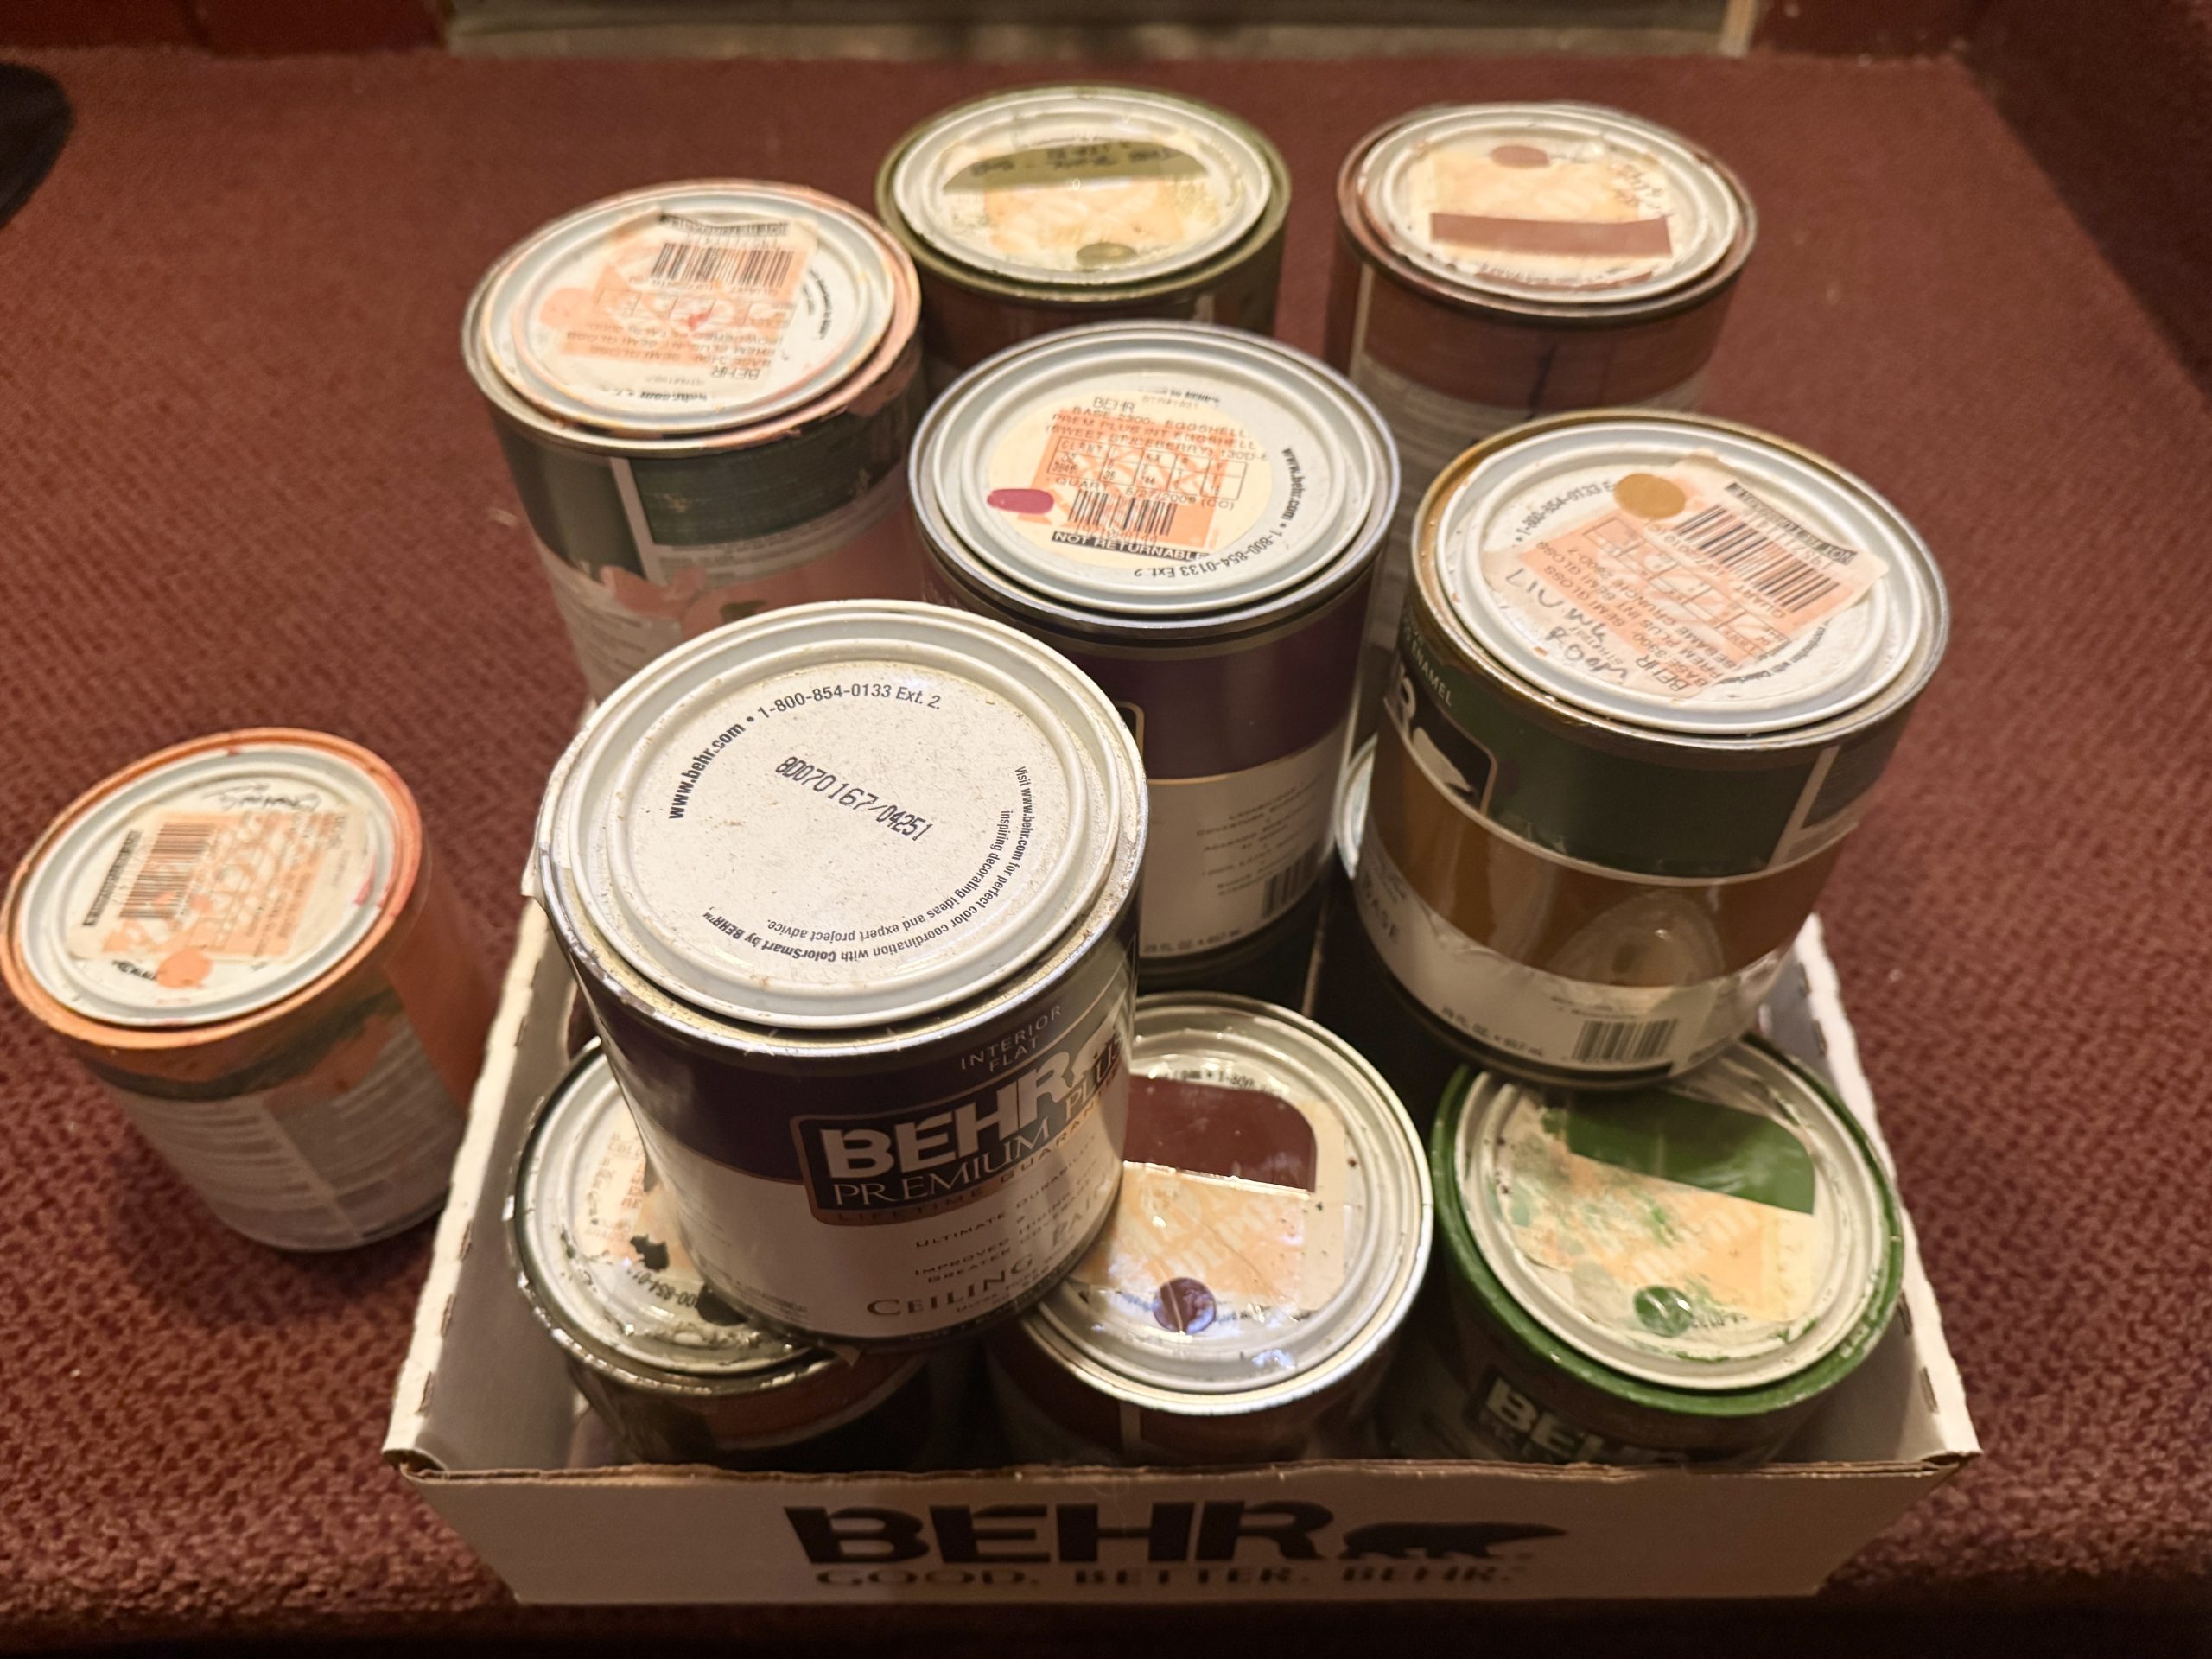
The folks at the Home Depot paint department couldn’t believe all the colors we were asking for.
One of the keys turned out to be blending - SO MUCH BLENDING - which is illustrated beautufly here:
Enter: My Ever Willing Mother
My mom, thankfully, is generally up for more of my crazy ideas than anyone should be. When she arrived at my place I showed her all my research and went over the general idea.
We figured out what the base color should be - we went with a warm apricot which felt to me like the base color of the rug and mapped out the order of accent colors. In picking out all the accent colors I chose a full range to represent the rich palette in the rug. from aqua to dark teal to rich red. Then we started on the process - moving all the furniture, taping the border to the woodwork, and starting on the actual walls. (We had previously painted the ceiling in a soft metallic aqua.
Pro tip: metallic and pearlized paint colors, while a bit more expensive are worth every cent. They add beautiful depth with a minimum of work - I use them in almost every room.)
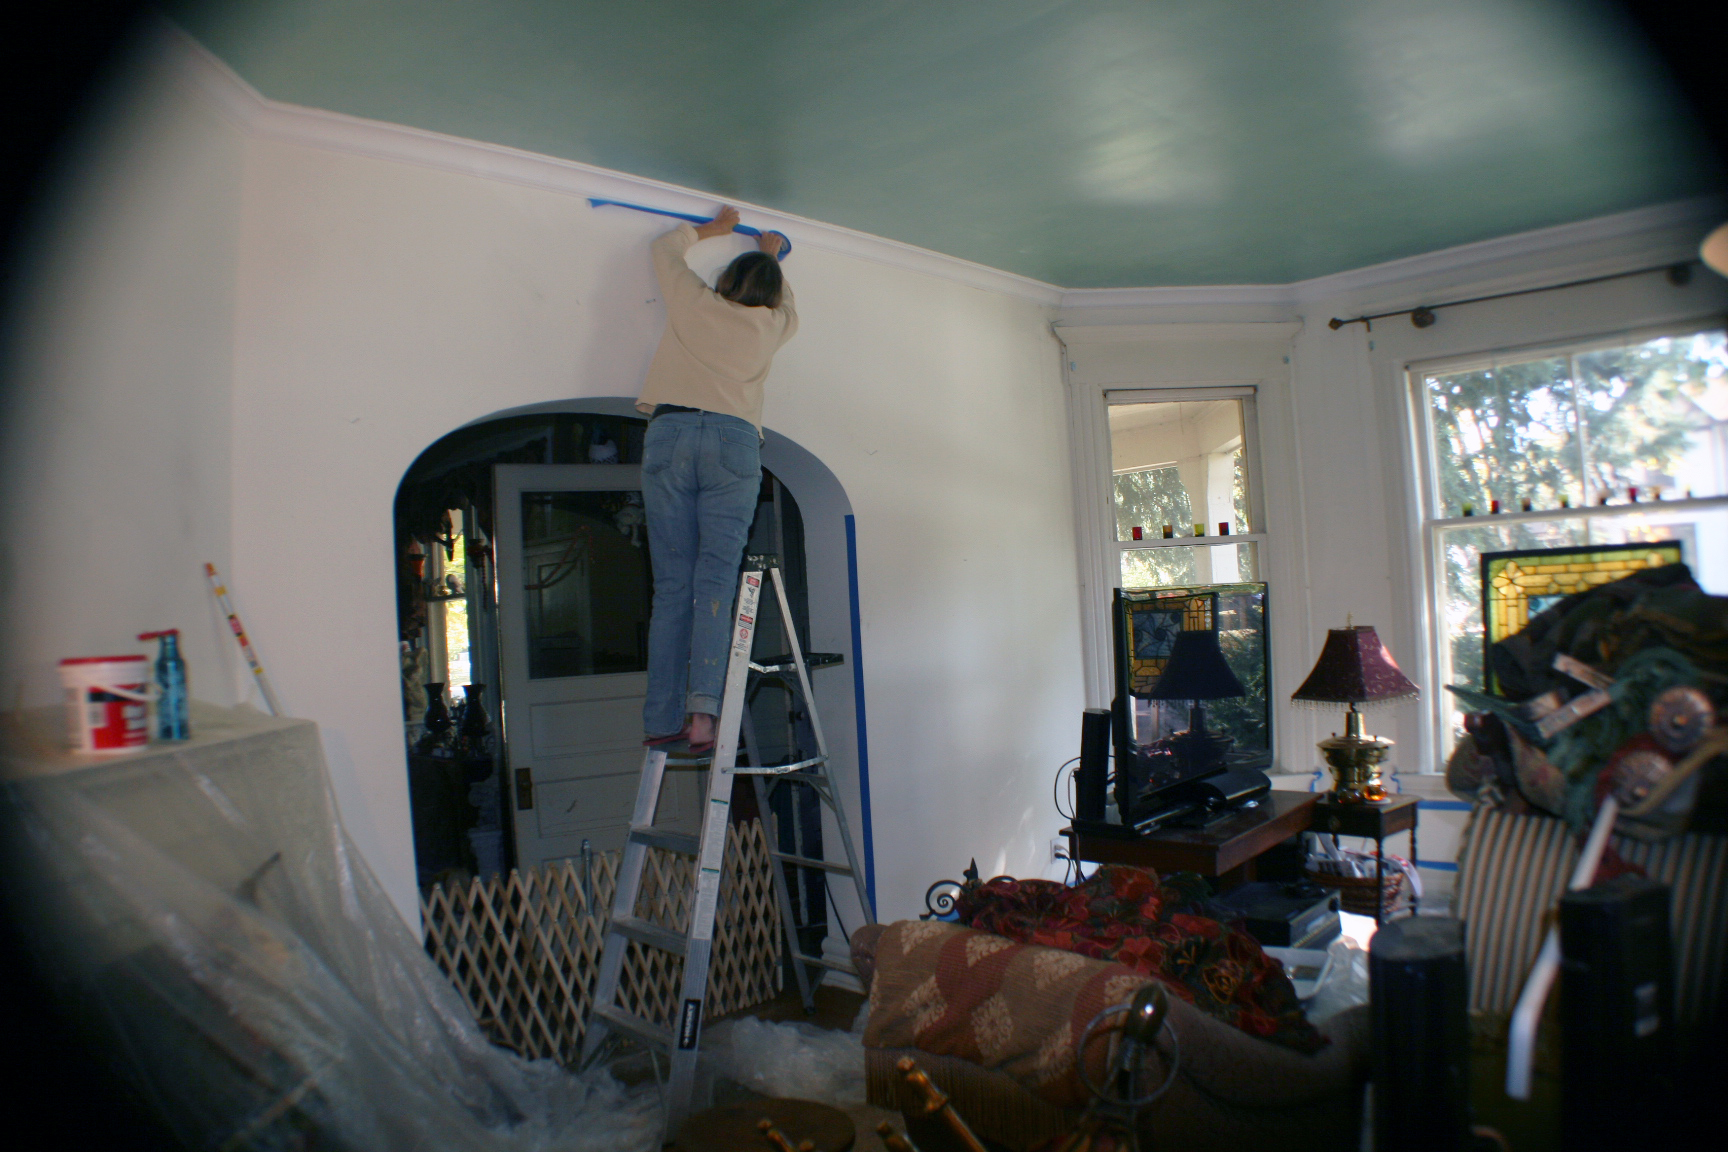
SO MUCH PREP!
The starting point
and the preparation
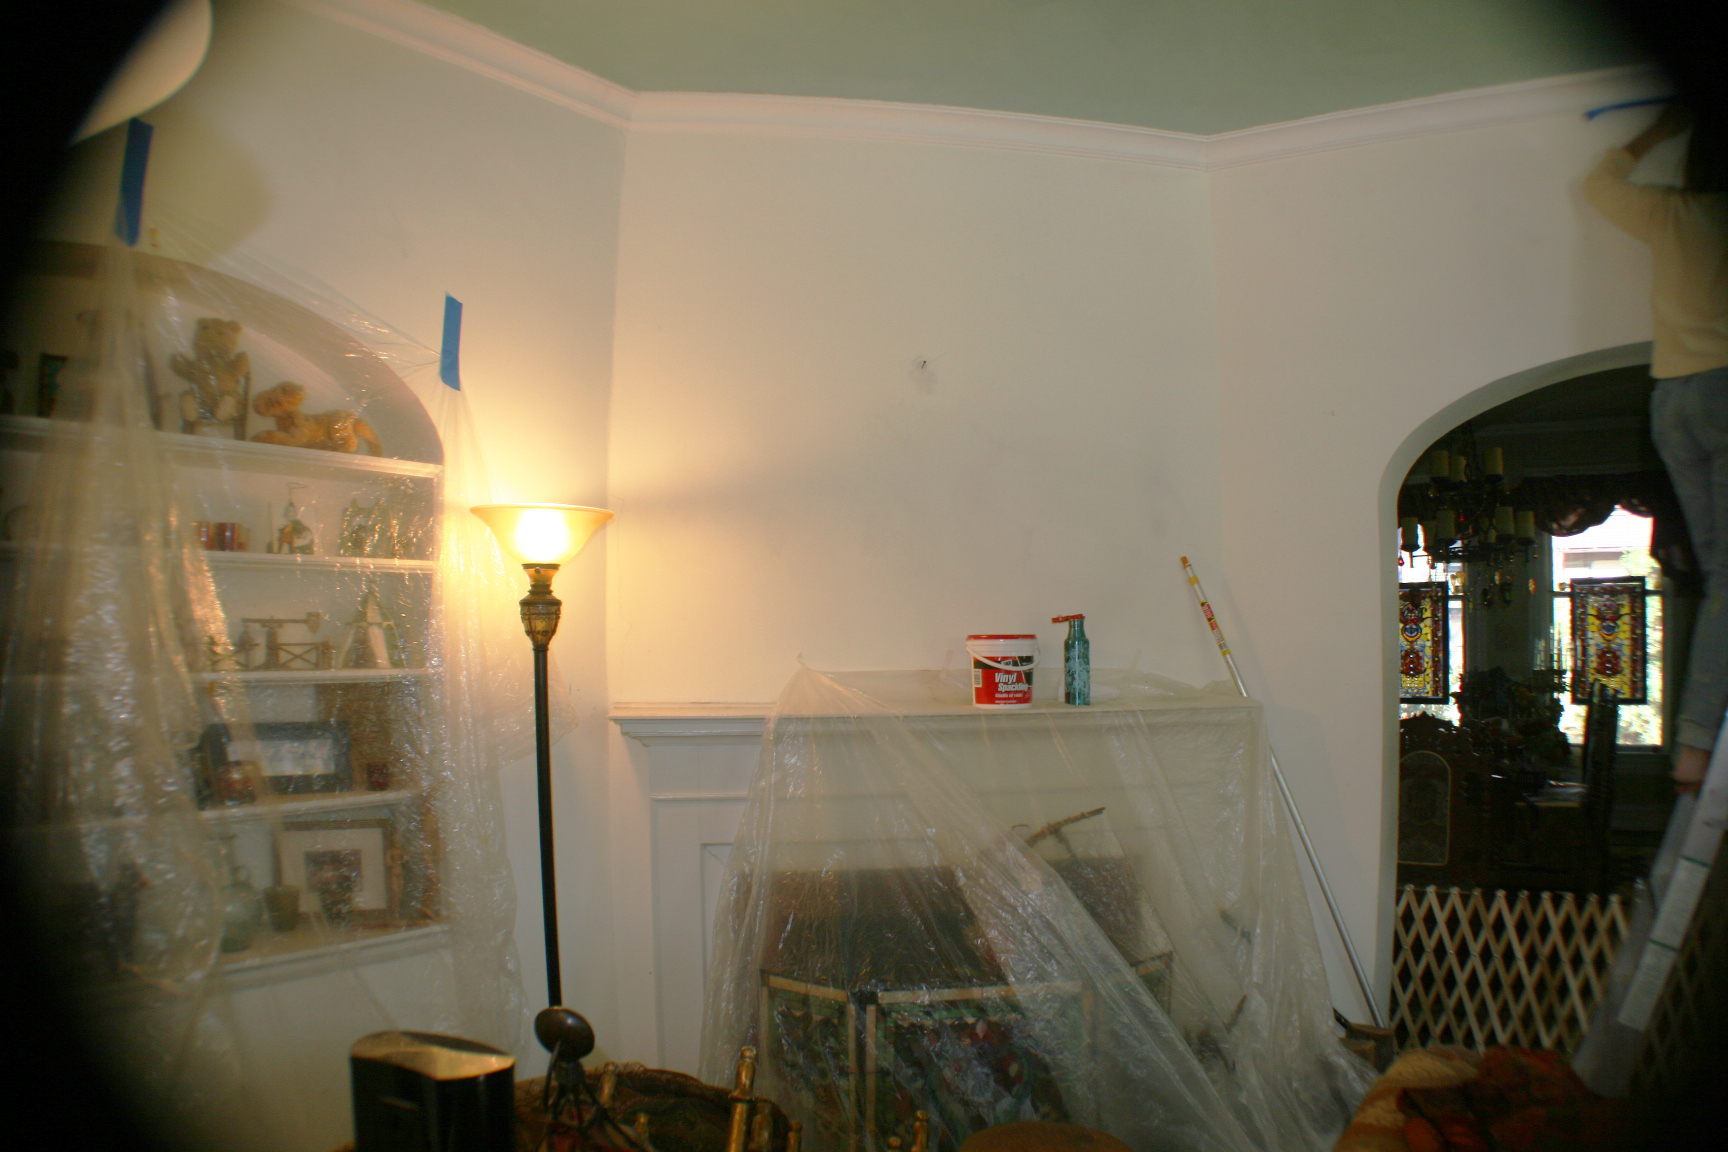
and so on...
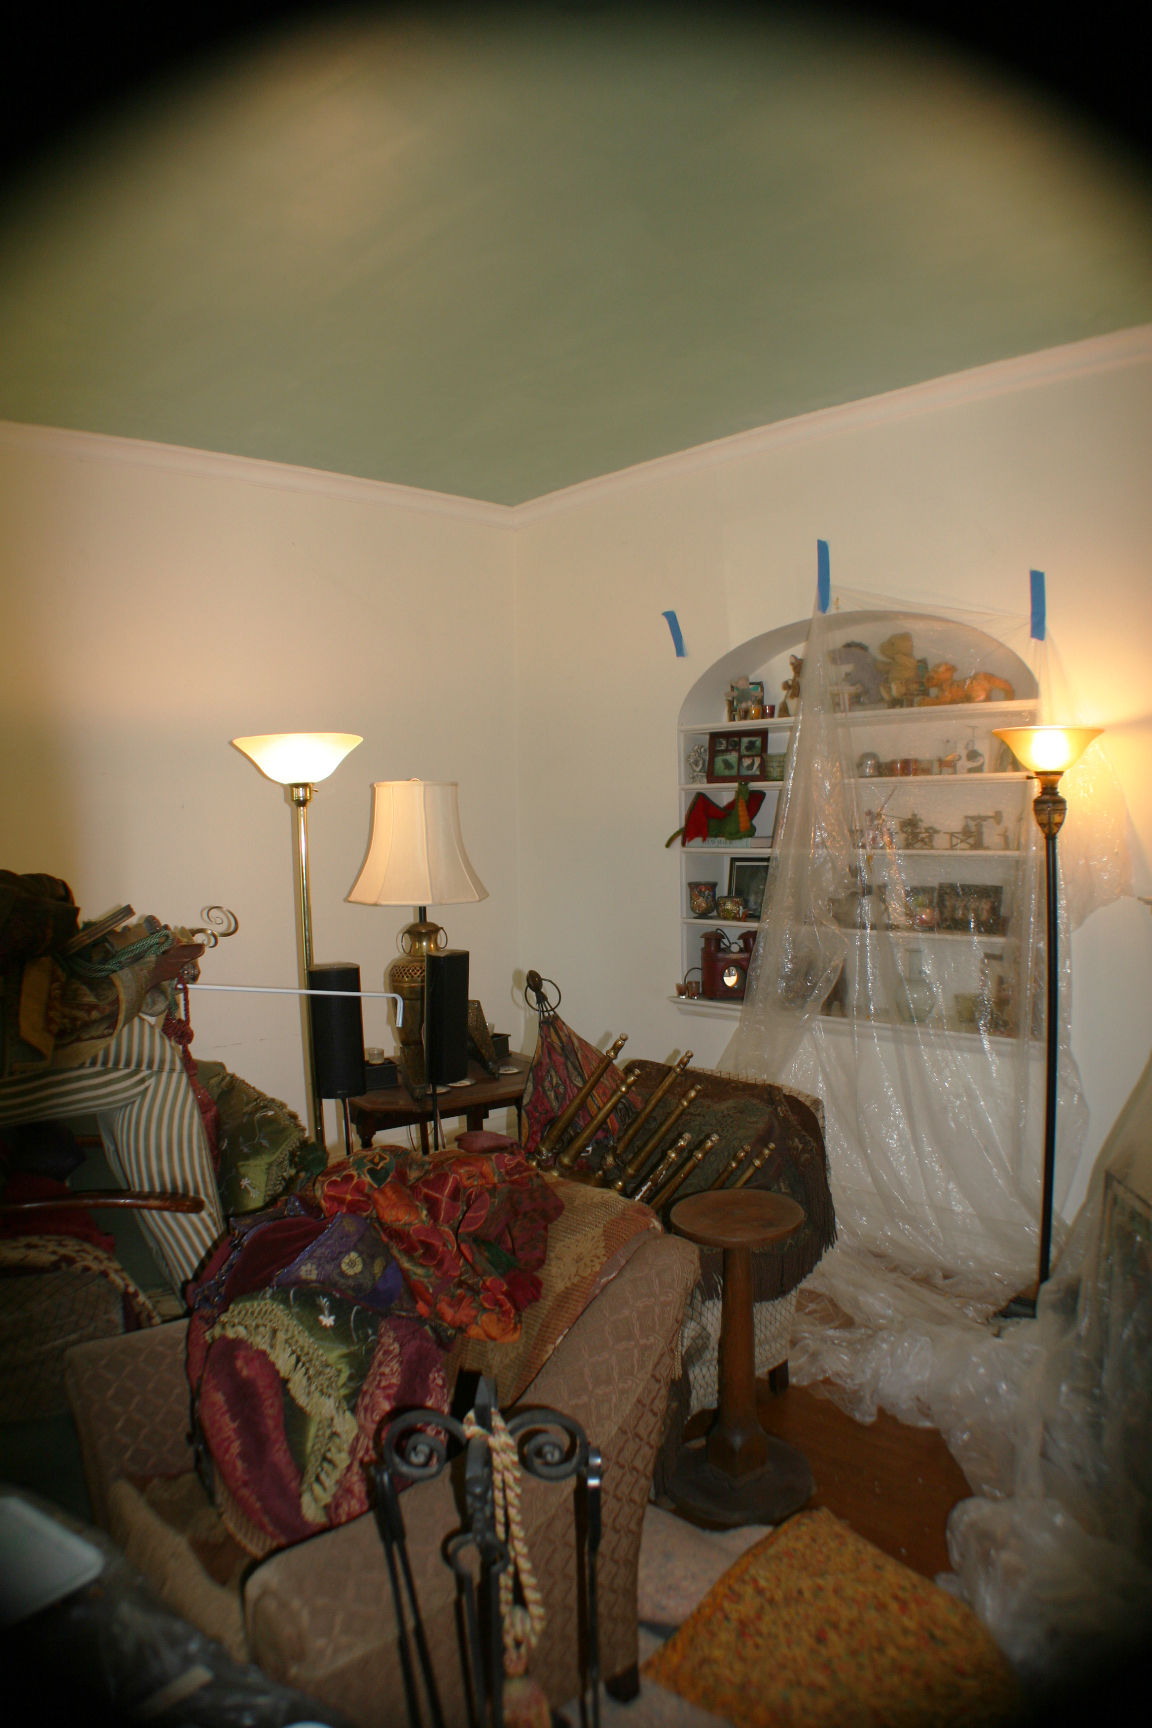
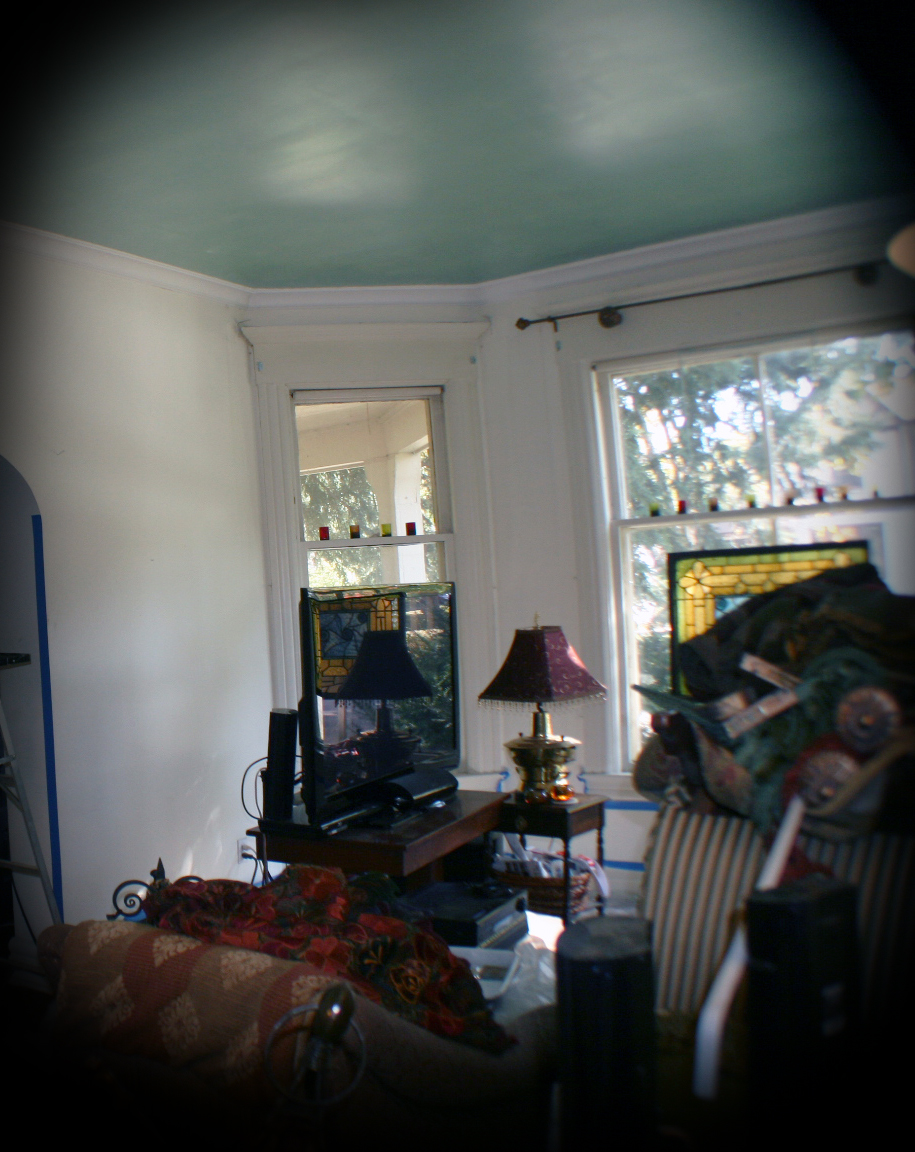
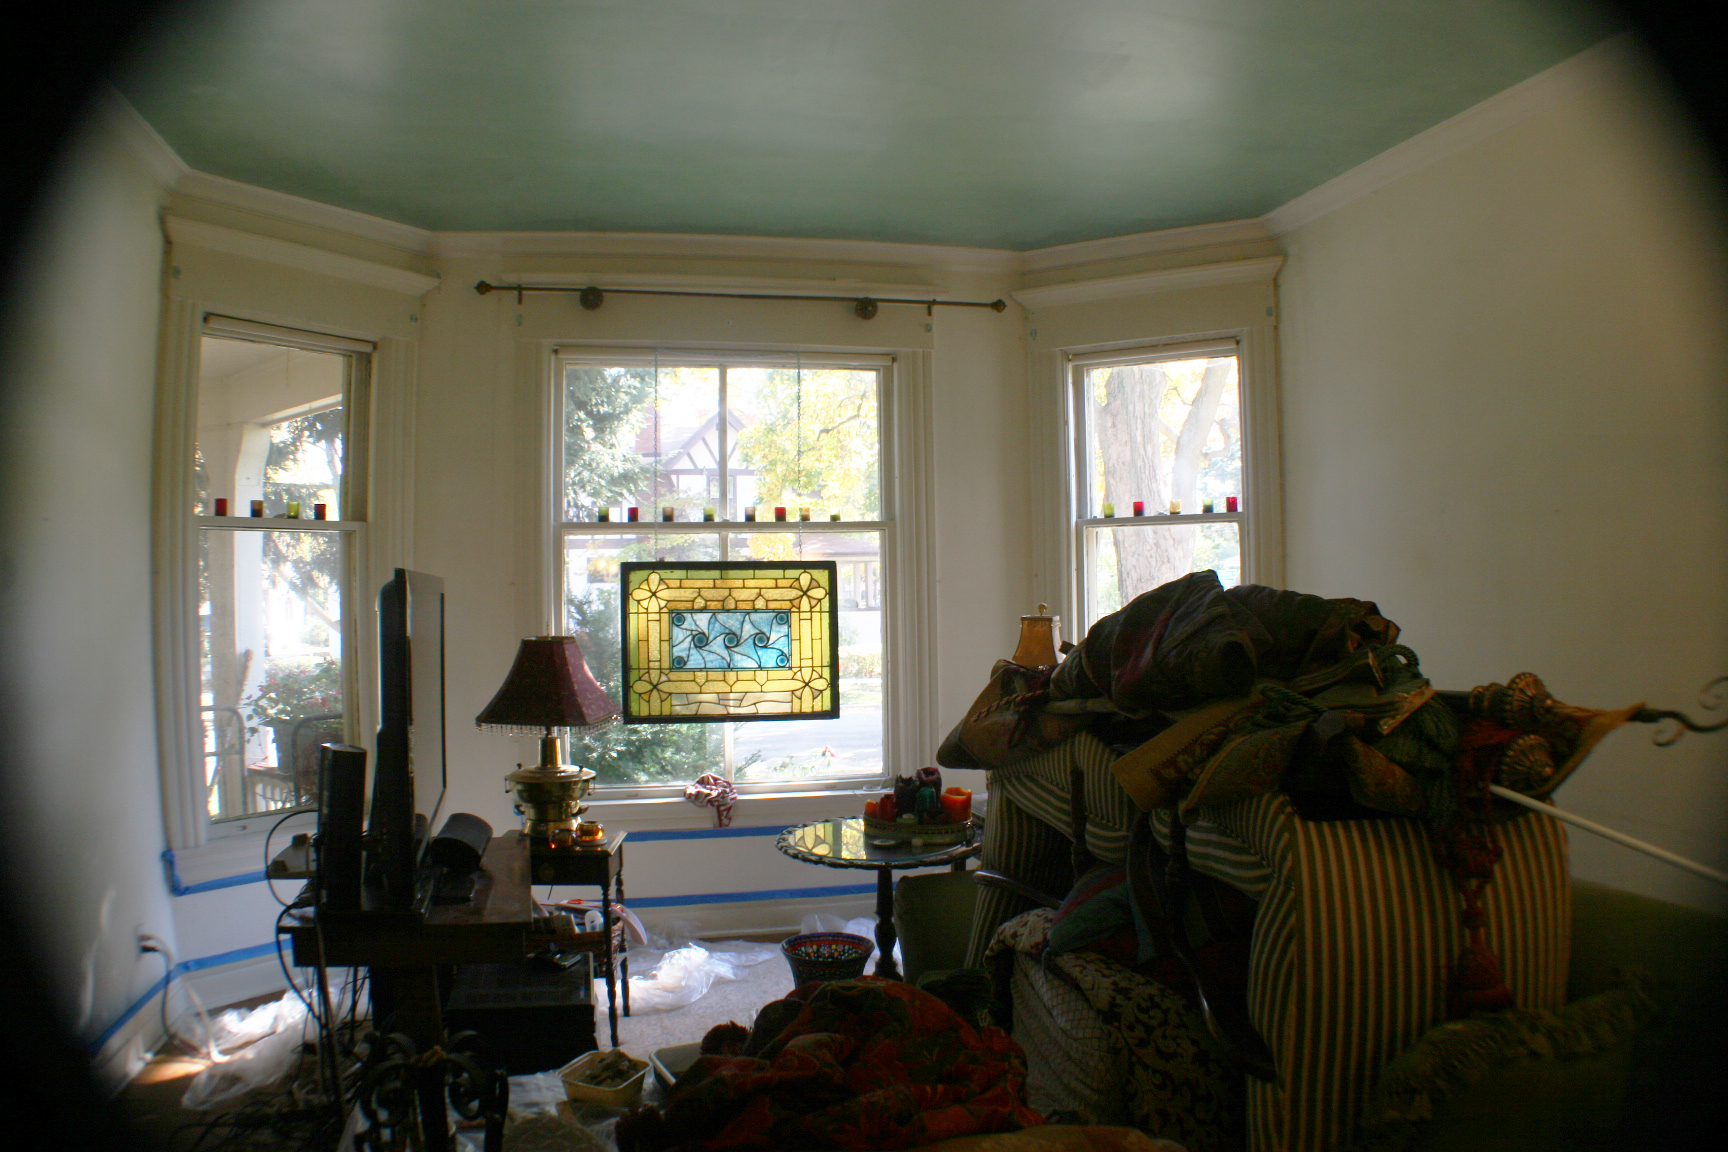
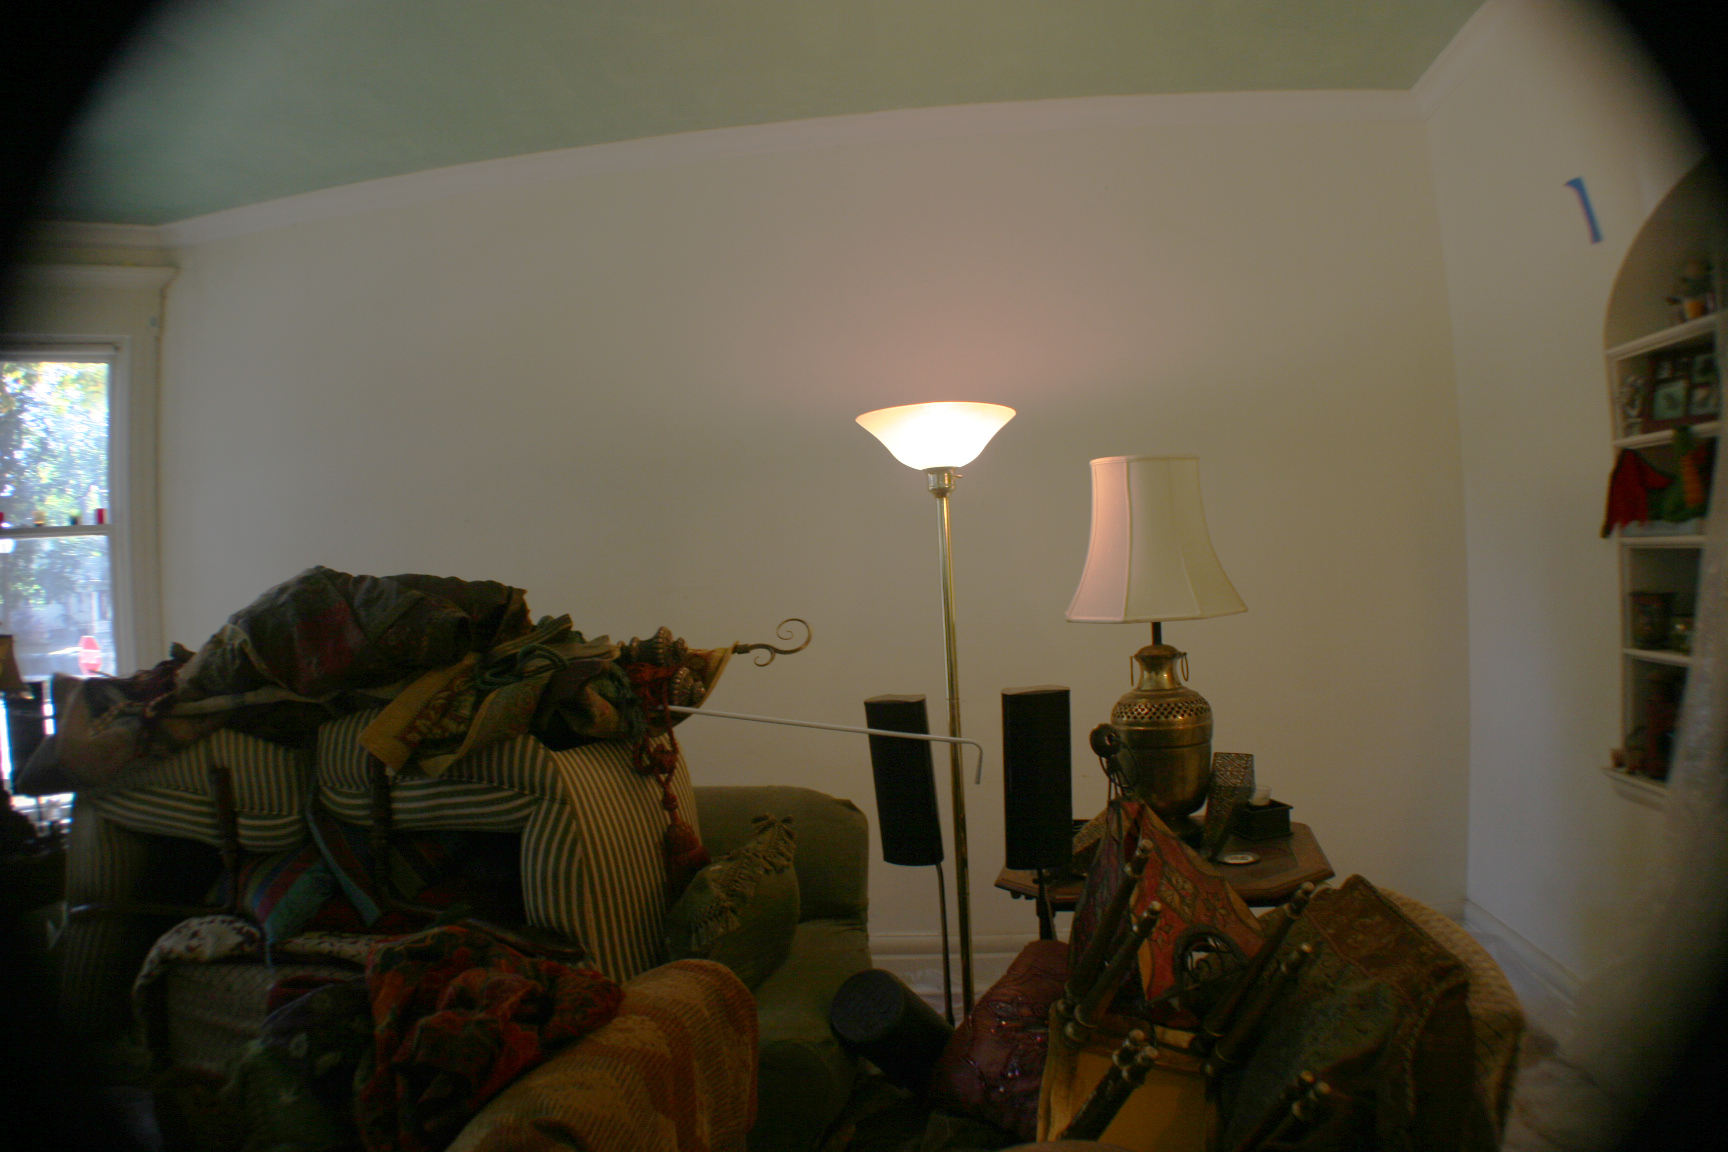
You will see in the process pictures that we ended up piling all the furniture up in the middle of the room because needed access to all the walls the whole time because the process needed to happen in layers - its not like we could finish one wall and then move on to the next one,
The Base Coat
A promising beginning, I thought.
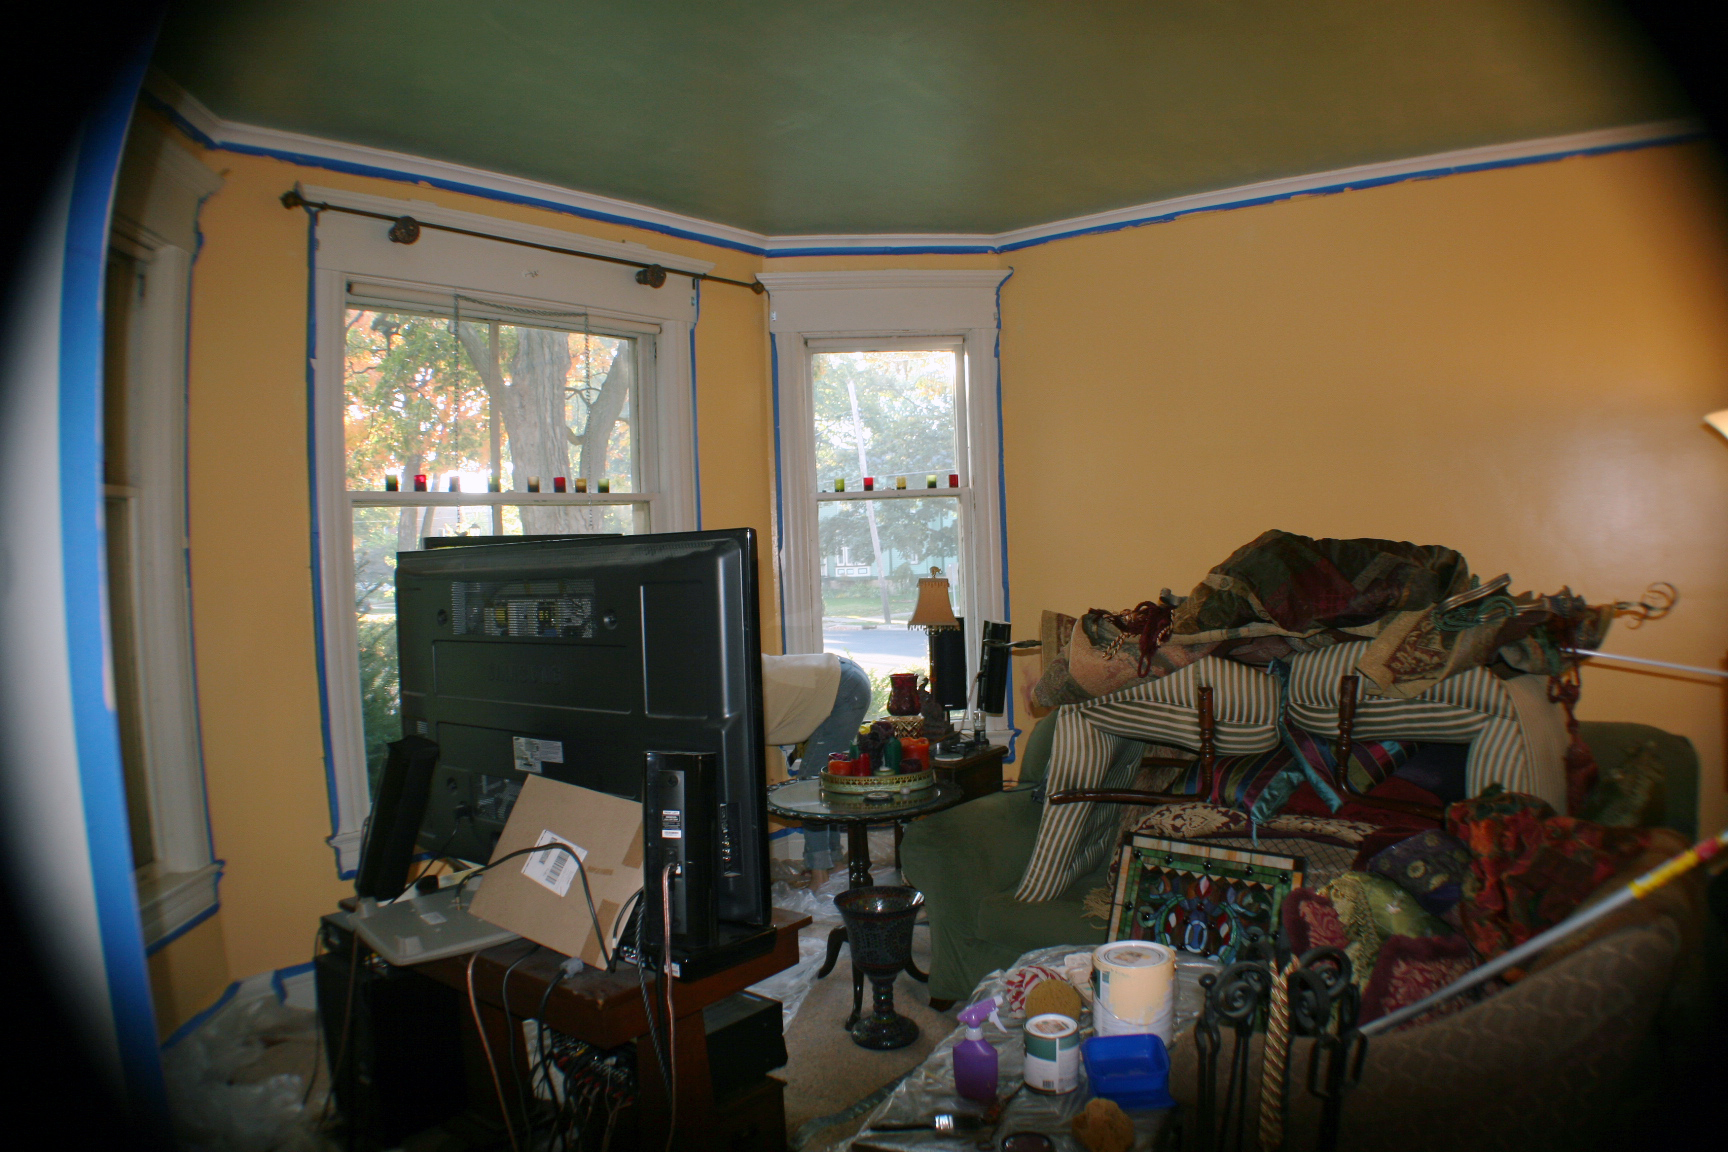
Here is the warm apricot I chose as the foundation color and then it was time to begin marbling...
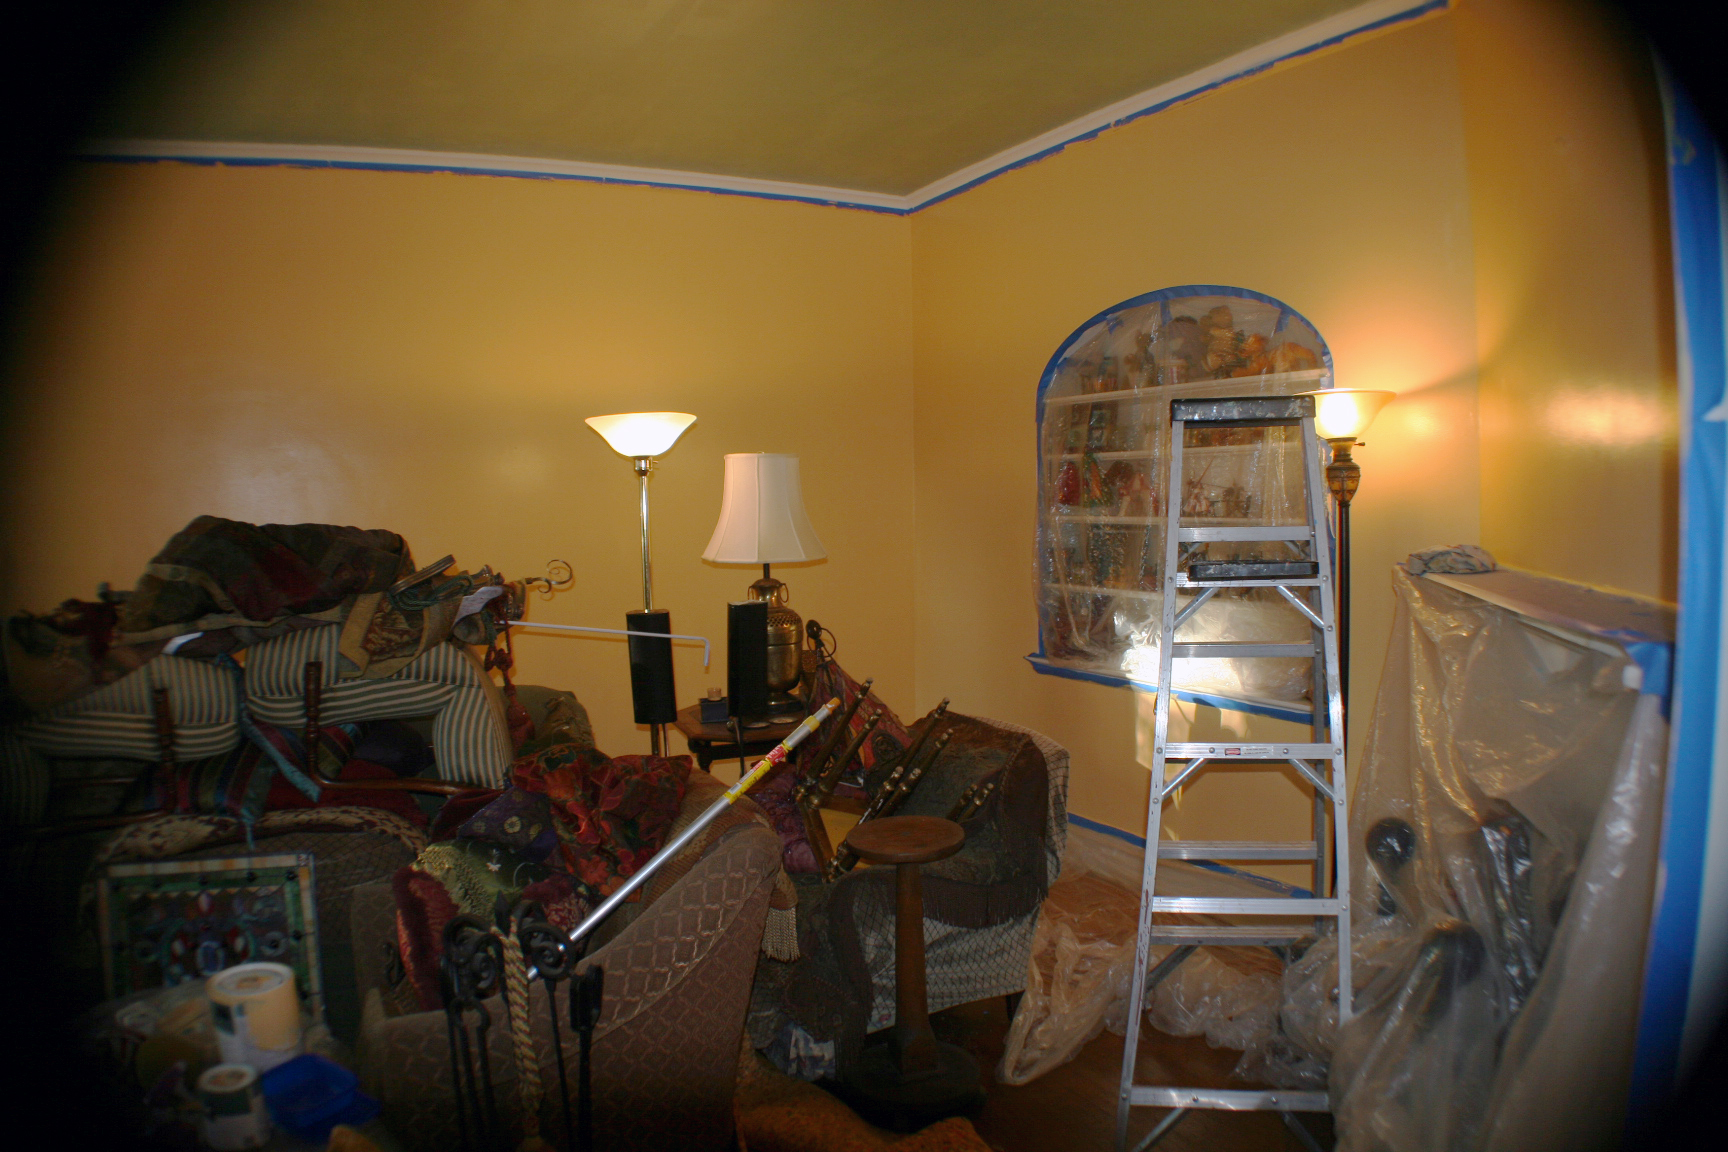
The Messy Middle: When I Wanted to Cry
A few days later and about 40% of the way through,
I stood in that room — surrounded by painter’s tape and half-finished walls — feeling defeated by my grandiose plan.
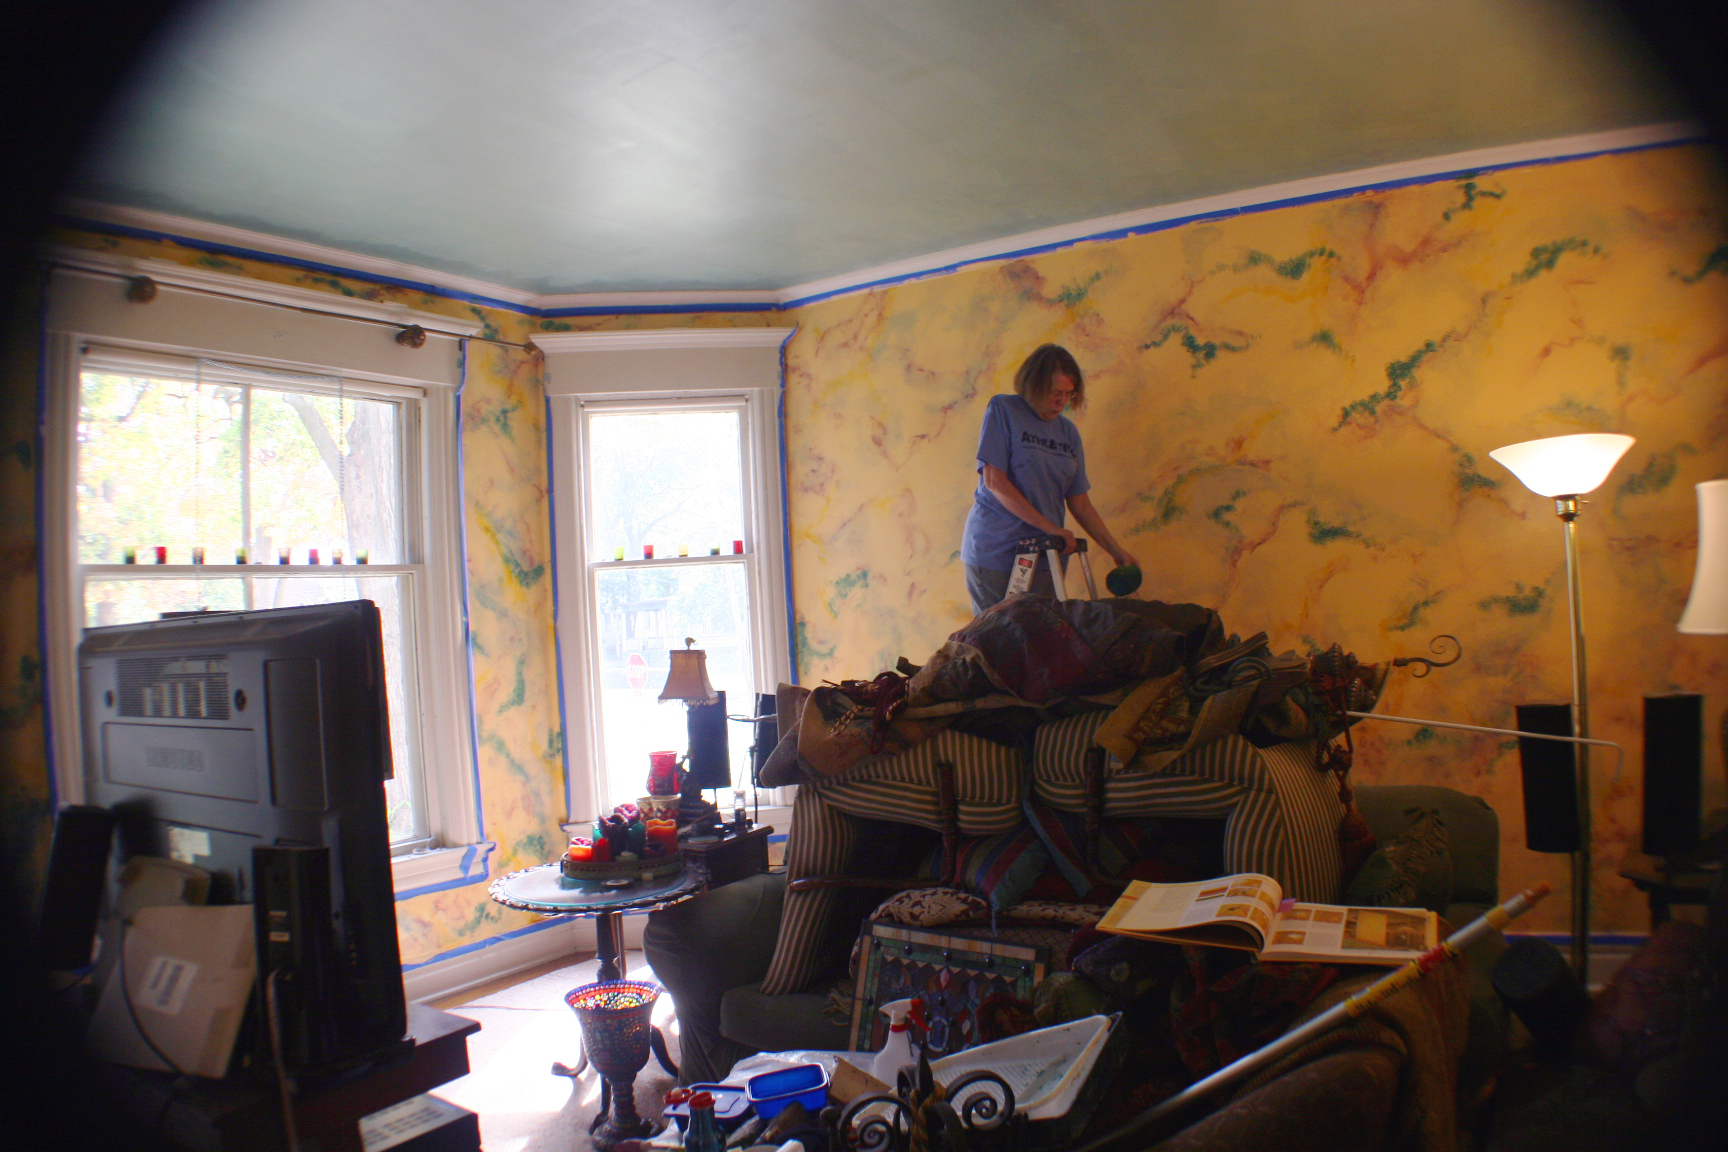
The colors weren’t blending the way I’d imagined.
The technique that worked on smaller areas wasn’t translating to full walls. The first few layers looked like a kindergarten finger painting disaster — or like my walls had acquired colorful bruises.
My mom looked at me with that face. You know the one. The “I love you but I’m not sure about this one” face.
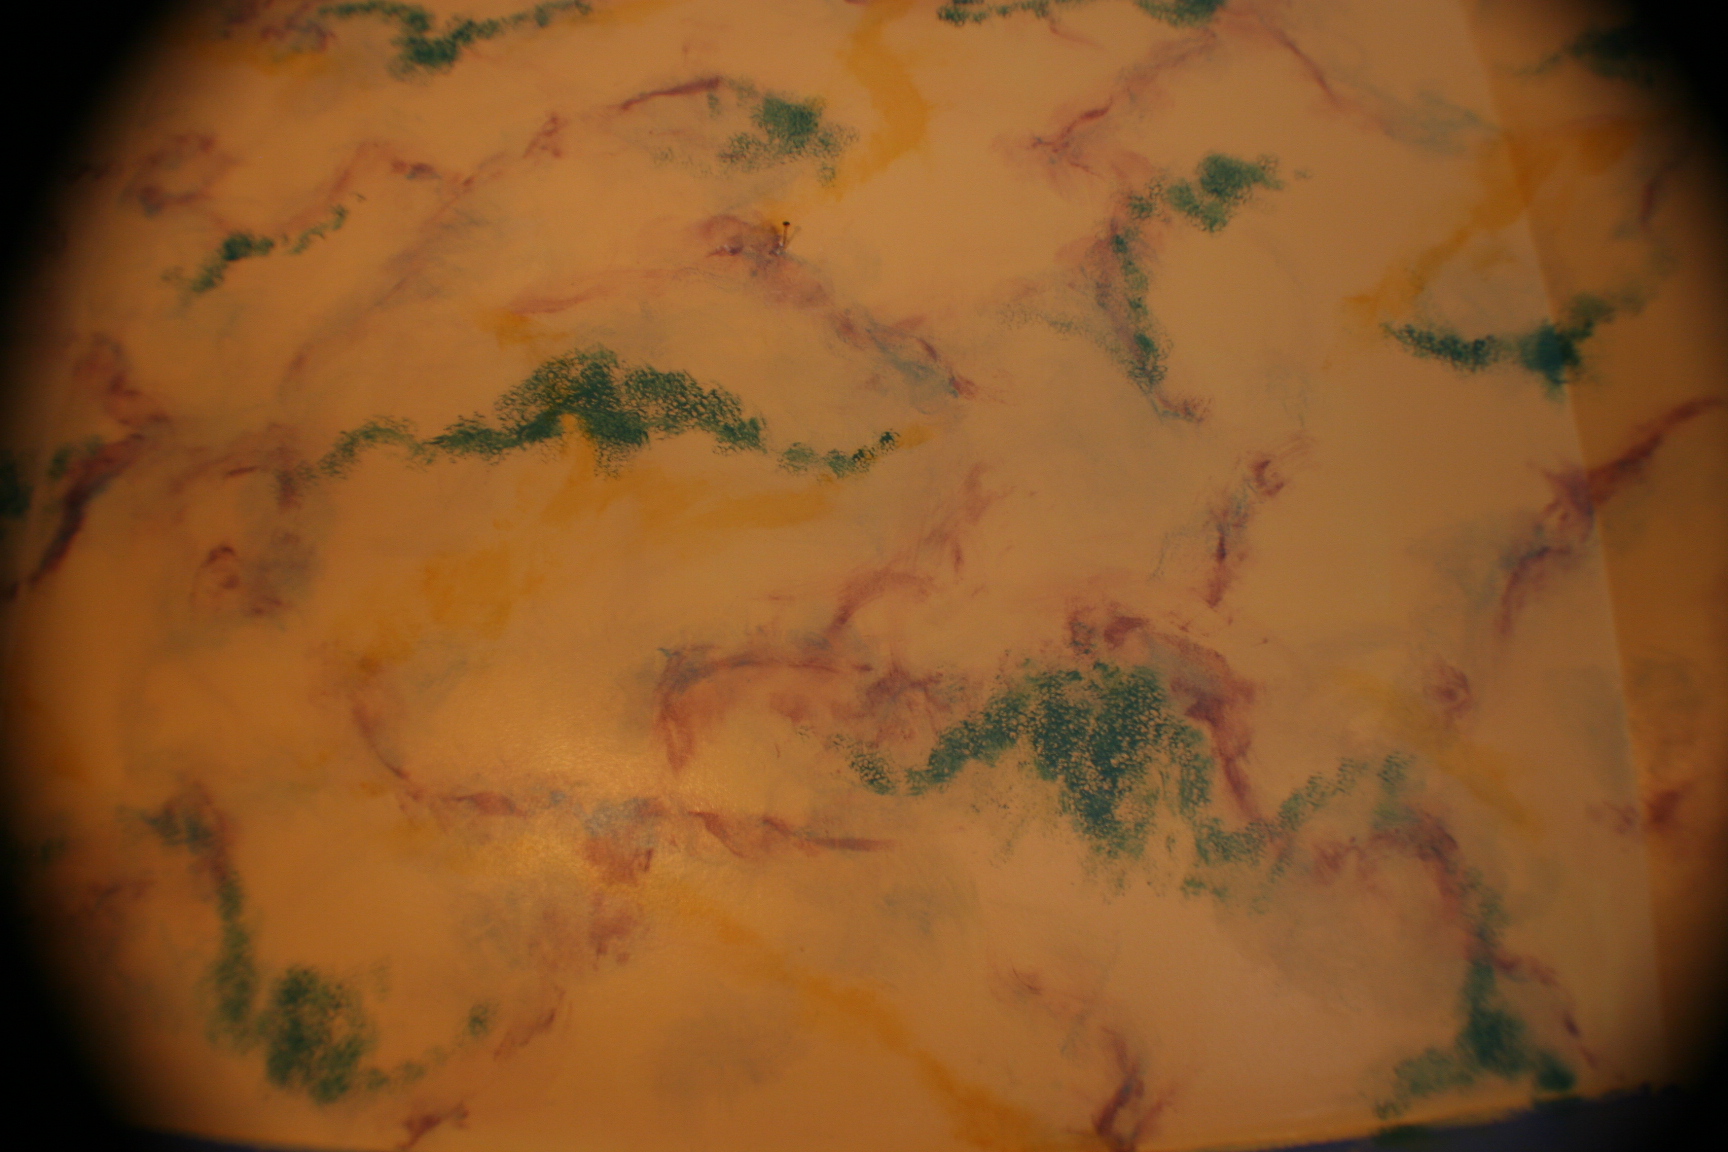
I had two choices:
Choice 1: Go back to the drawing board and paint over everything in a safe, boring solid color.
Choice 2: Research more, adjust technique, and keep going.
I chose door number two. Obviously. (You know me by now.)
WANT TO SEE WHAT HAPPENED NEXT?
The breakthrough. The moment the colors started to dance. The finished room in all its 13-color glory — Animated flow showing whole progression, The full before & after and a 360° tour where you can stand inside and look around.
This is the first of many rooms I'll be opening up like this.
Come on in — I saved you a seat by the fire.
Founding Members get all of this for just $7/mo, with launch pricing locked in for as long as you stay.

Lily and Longpaw are guarding what comes next.
Members, come on in - log in below.
To continue reading become a Member for just $7/mo!
Click here to join the rebellion
Already a member? Just login below
Dog approved design
Lily gives her joyful puppy stamp of approval to the living roomOther Projects & Thoughts

Join me in a ‘NeoGothic Rebellion’!
Start Here: Join Me in a ‘NeoGothic Rebellion’!...

Why I Chose the Hardest Possible Way to Launch a Blog (It’s Very On Brand)
Why I Chose the Hardest Possible Way to Launch a...

Art can be made anywhere – a girl and her dog in the middle of the street
Girl: 1 Dog: 1 Trees: lots & lots Cars on...